 This post is about “converting” a garburator into an apple crusher. I use sarcastic quotation marks because there’s really very little you have to do to change a garburator into a crusher.
For the record, I stole all of this from Kevin, who built his first apple crusher years ago, posted about it here, and has generously lent it to friends many times since then. I just got around to making my own, so I thought I’d write about it for the sake of completeness, but there really isn’t anything in this post that isn’t already in his.
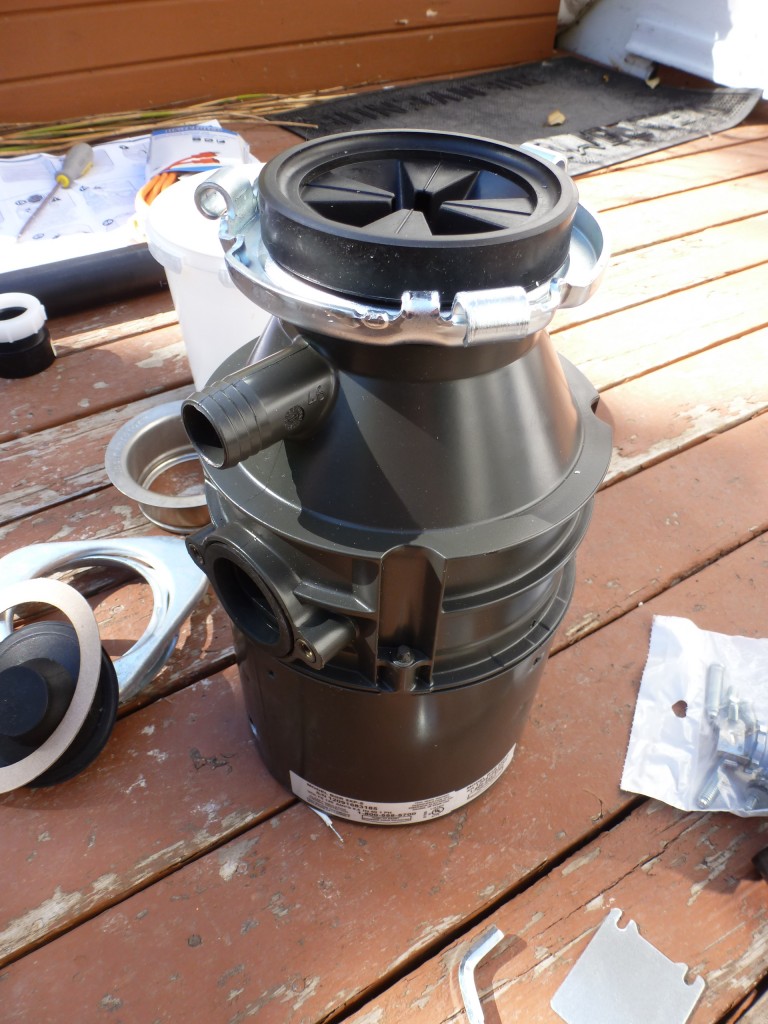
The first step is to obtain a kitchen garburator that has never been used. I have seen them on Kijiji, but they get snatched up pretty quick. I bought a new 3/4 hp Badger garburator at Home Depot for $150.
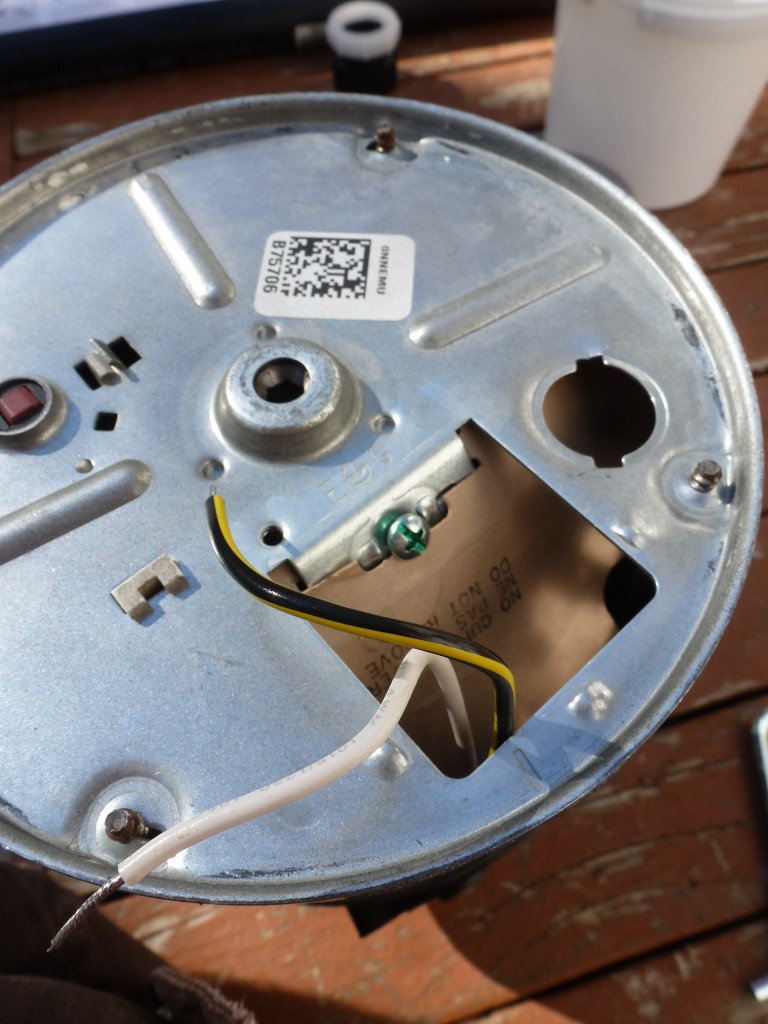
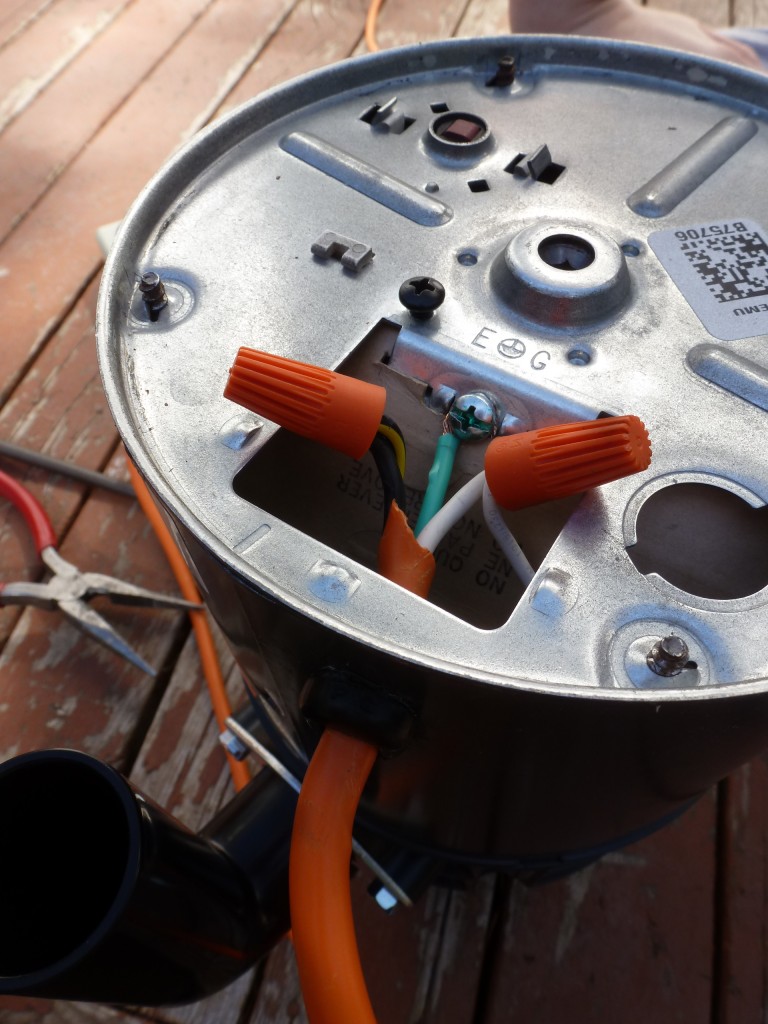
Next make the power connections. There is an access panel on the bottom of the garburator. The black wire is the power wire, the white is the neutral or power return, and the green screw is to ground the power cable.
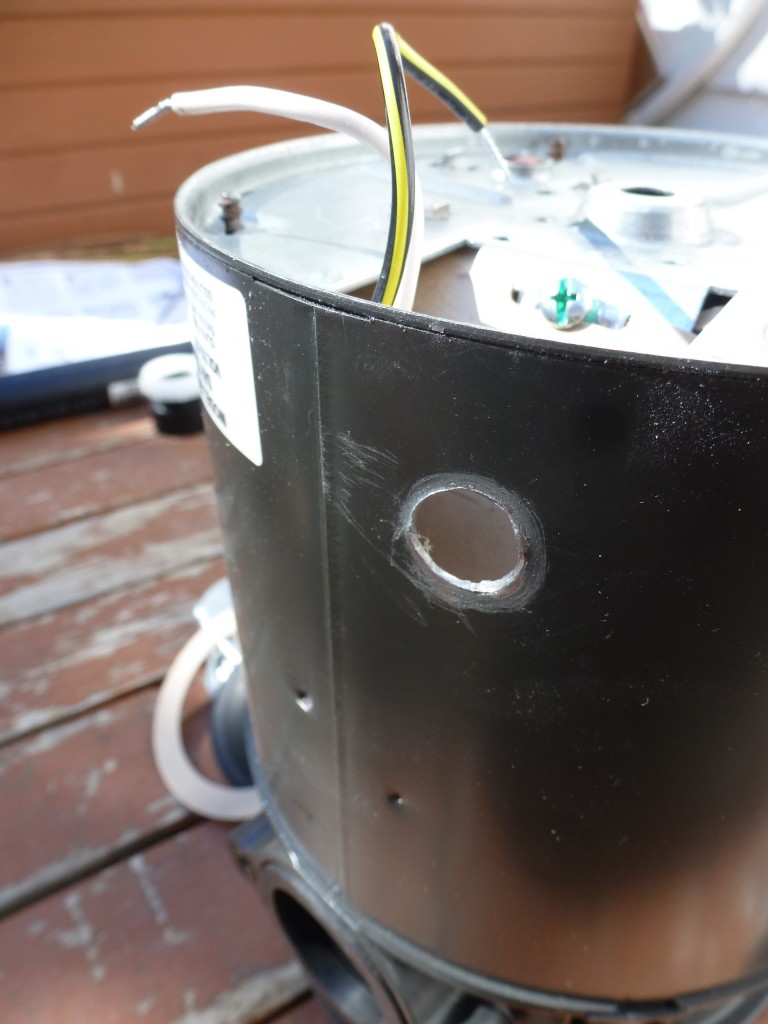
For regular use in a kitchen sink it makes perfect sense for the access panel to be on the bottom, but as an apple crusher the garburator will be sitting on top of a workbench, and if the power cable is fed into the bottom, it won’t sit flat. You can make a new “access panel” by drilling a 1/2″ hole in the side of the housing. Be careful not to let the drill bit slip too far into the housing, as it may damage the motor inside. Sand or file the edges of the hole.
For a power cable I used an extension cord. By cutting off the receptacle end of the cord you expose the three 14 AWG wires within: a black power wire, and white return wire, and a green ground.
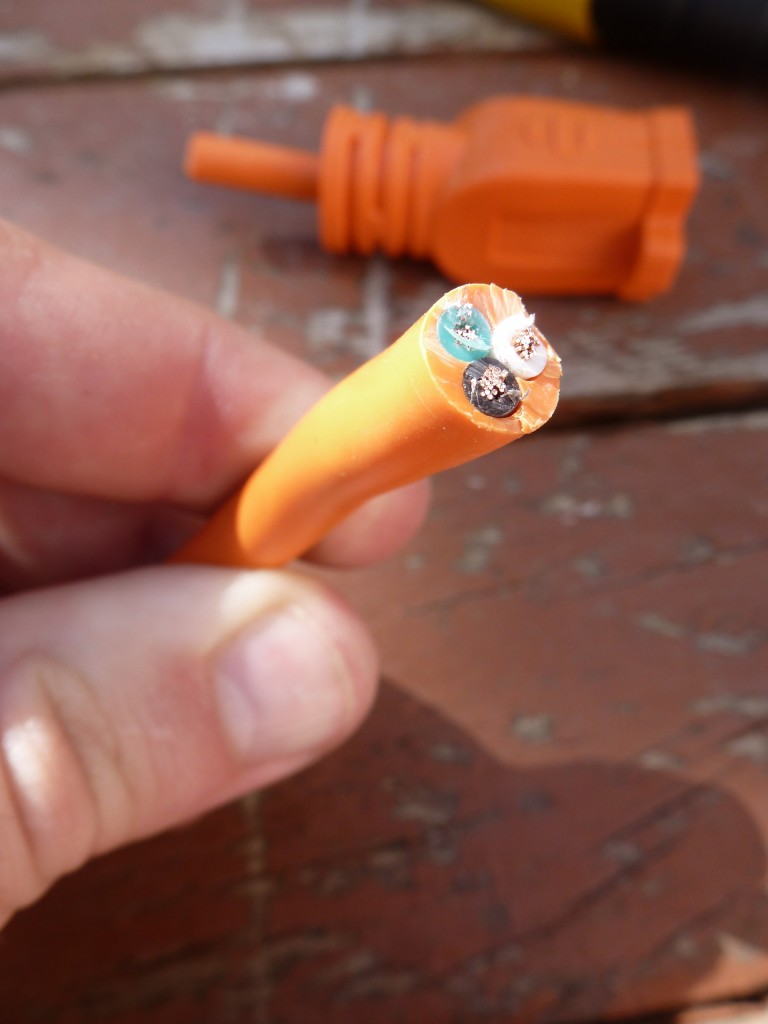
Cut the sheath farther back and strip the individual wires to expose the copper filaments. I wanted to use twist-on wire nuts to make the connections, and Lisa’s father Ron informed me that to do that these strand wires would need to be soldered. He took a soldering iron out of his back pocket and did me the favour. You can see in the picture below that Ron also stole the grommet from an old power bar to protect the power cable from the sides of the hole we drilled in the garburator.

Connect the two black power wires together and the two white return wires together. The green ground wire is screwed to the body of the garburator.
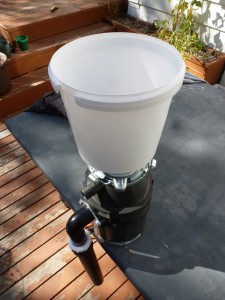
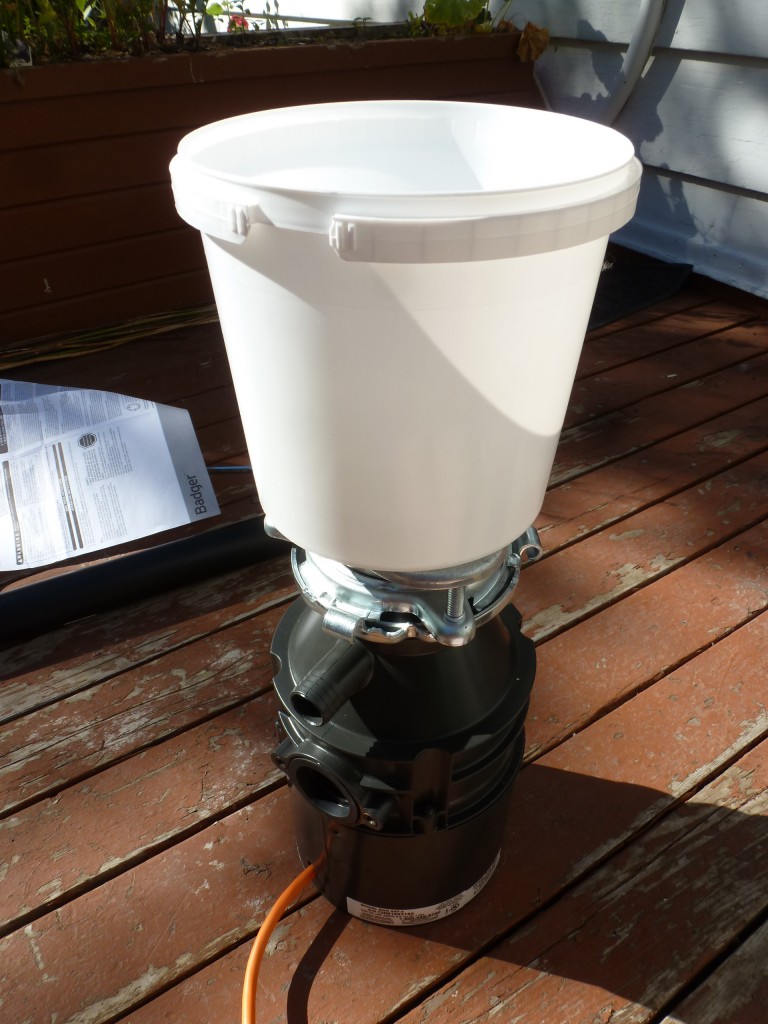
Close the access panel and that’s it for electrical. Next I installed a hopper to ease apple-loading and to keep fingers away from the input. I used an old Bles-Wold yogurt bucket, so I count my hopper expenses as the 10¢ deposit I paid when I bought it.
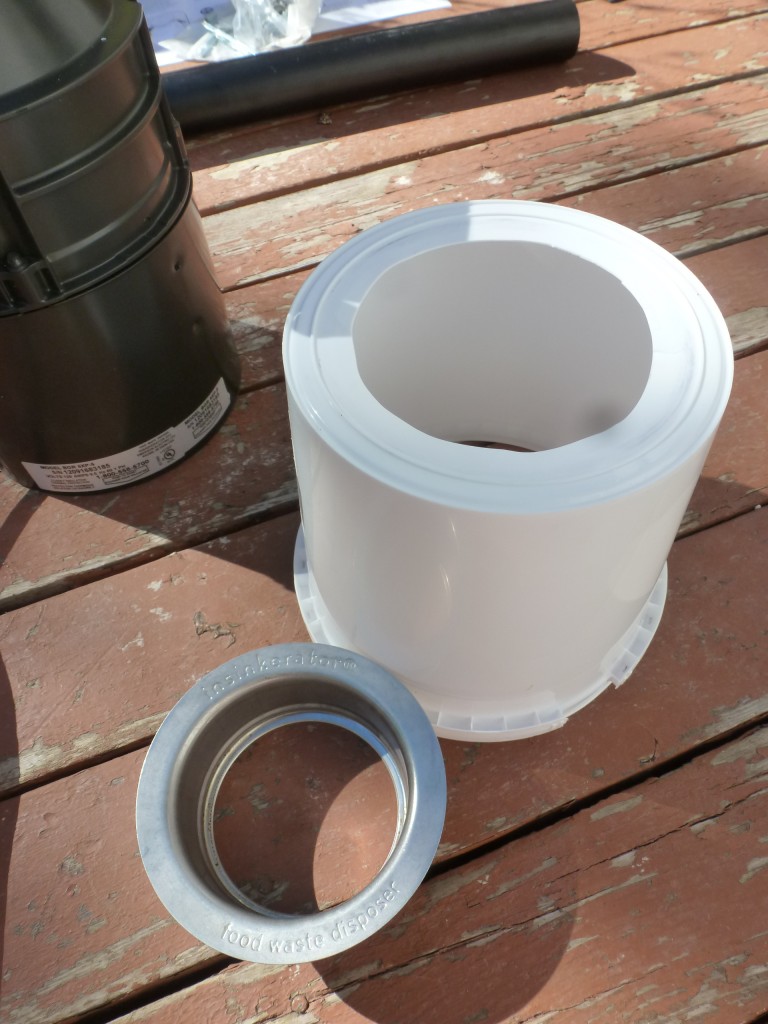
The garburator came with everything I needed to mount the hopper, the plastic bucket simply taking the place of the kitchen sink.
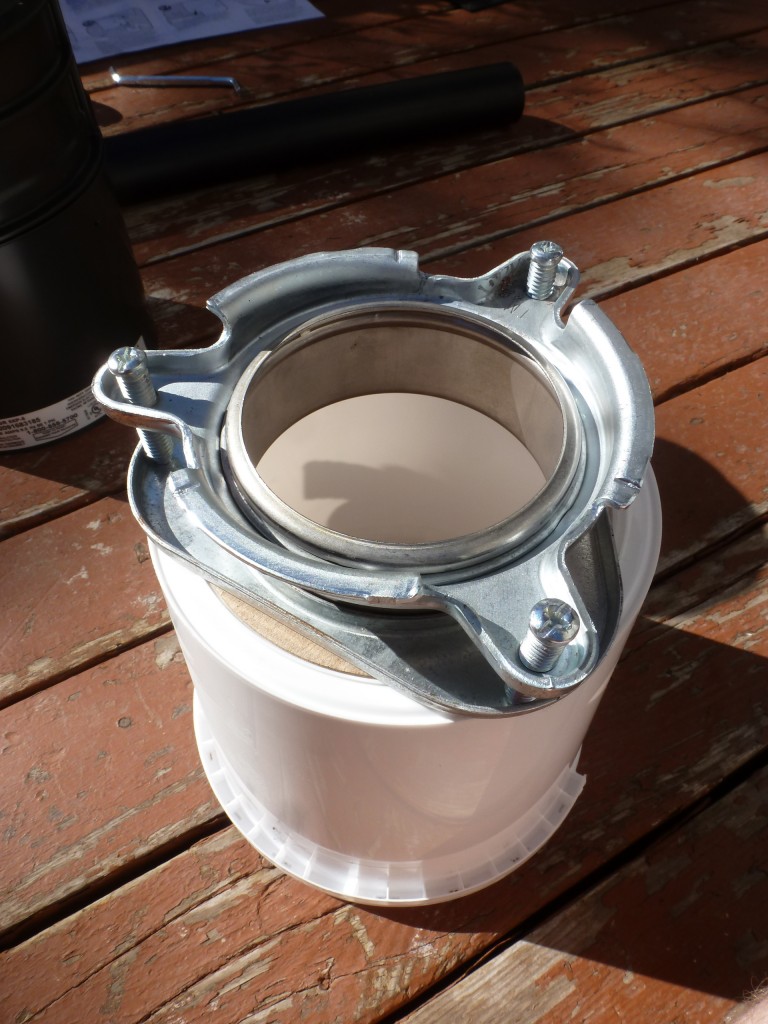
Here’s the apple crusher with the power and hopper installed.
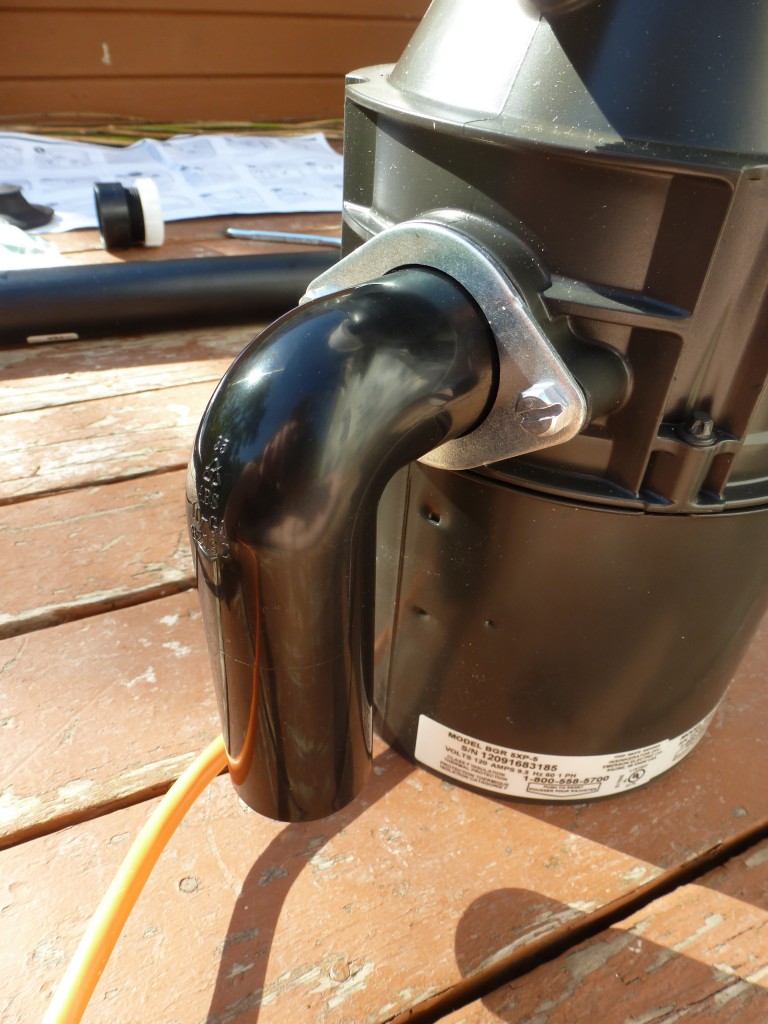
The final touch is to extend outflow piping so that the apple mash flows into a bucket. Below is the outflow piping that came with the garburator.
I used a foot or two of 1 1/2″ ABS piping to extend the outflow. First glue the ABS fitting to the extension piping with plumber’s glue. This is supposed to cure for a while before being used.
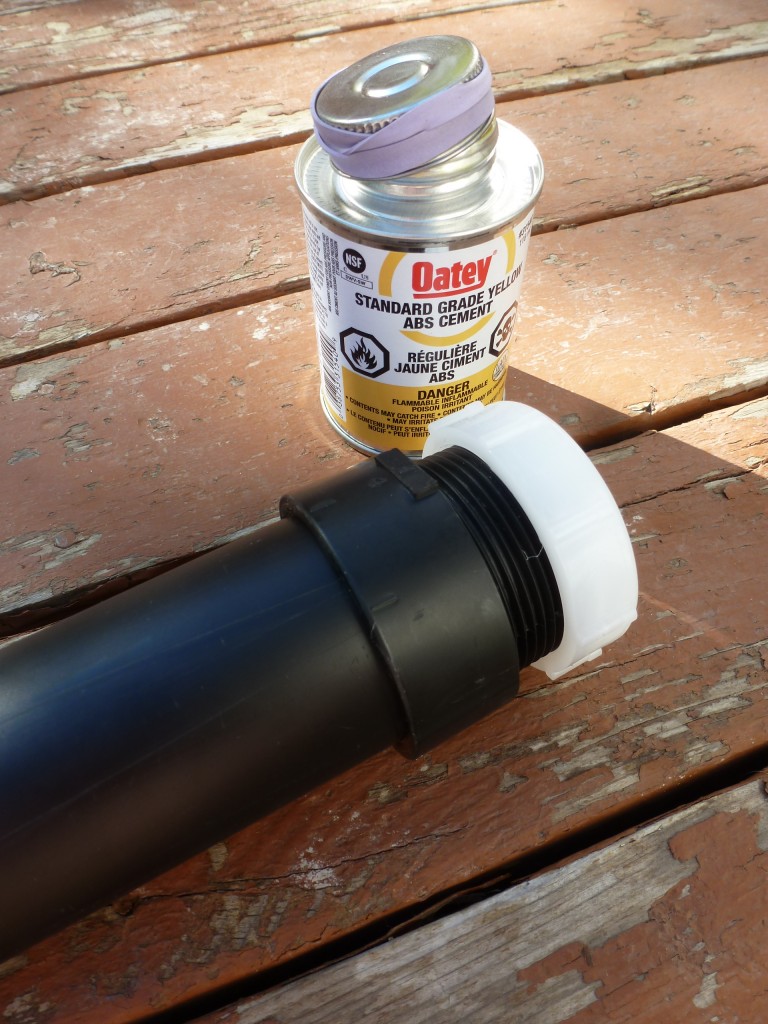
Screw the extension pipe onto the original elbow pipe.
That’s it. A homemade apple crusher for about $150 in materials, and maybe thirty minutes of assembly. Thanks, Kevin.

How does the result look like?