To be totally transparent, it is a dream of mine to invent a popular cocktail that people order by name long after I’m gone.
How does a cocktail become a classic? Obviously it needs to be delicious. This is a necessary condition, but it is not sufficient: bartenders make delicious new cocktails all the time, and very few become classics. I suggest that there needs to be something else about the drink, as a concept, that engages people and says something about them or their current time. I am hoping that Alberta’s general dislike of Premier Jason Kenney can be just such an underpinning for my bid to invent a famous mixed drink. Allow me to present the case for … Continue reading.
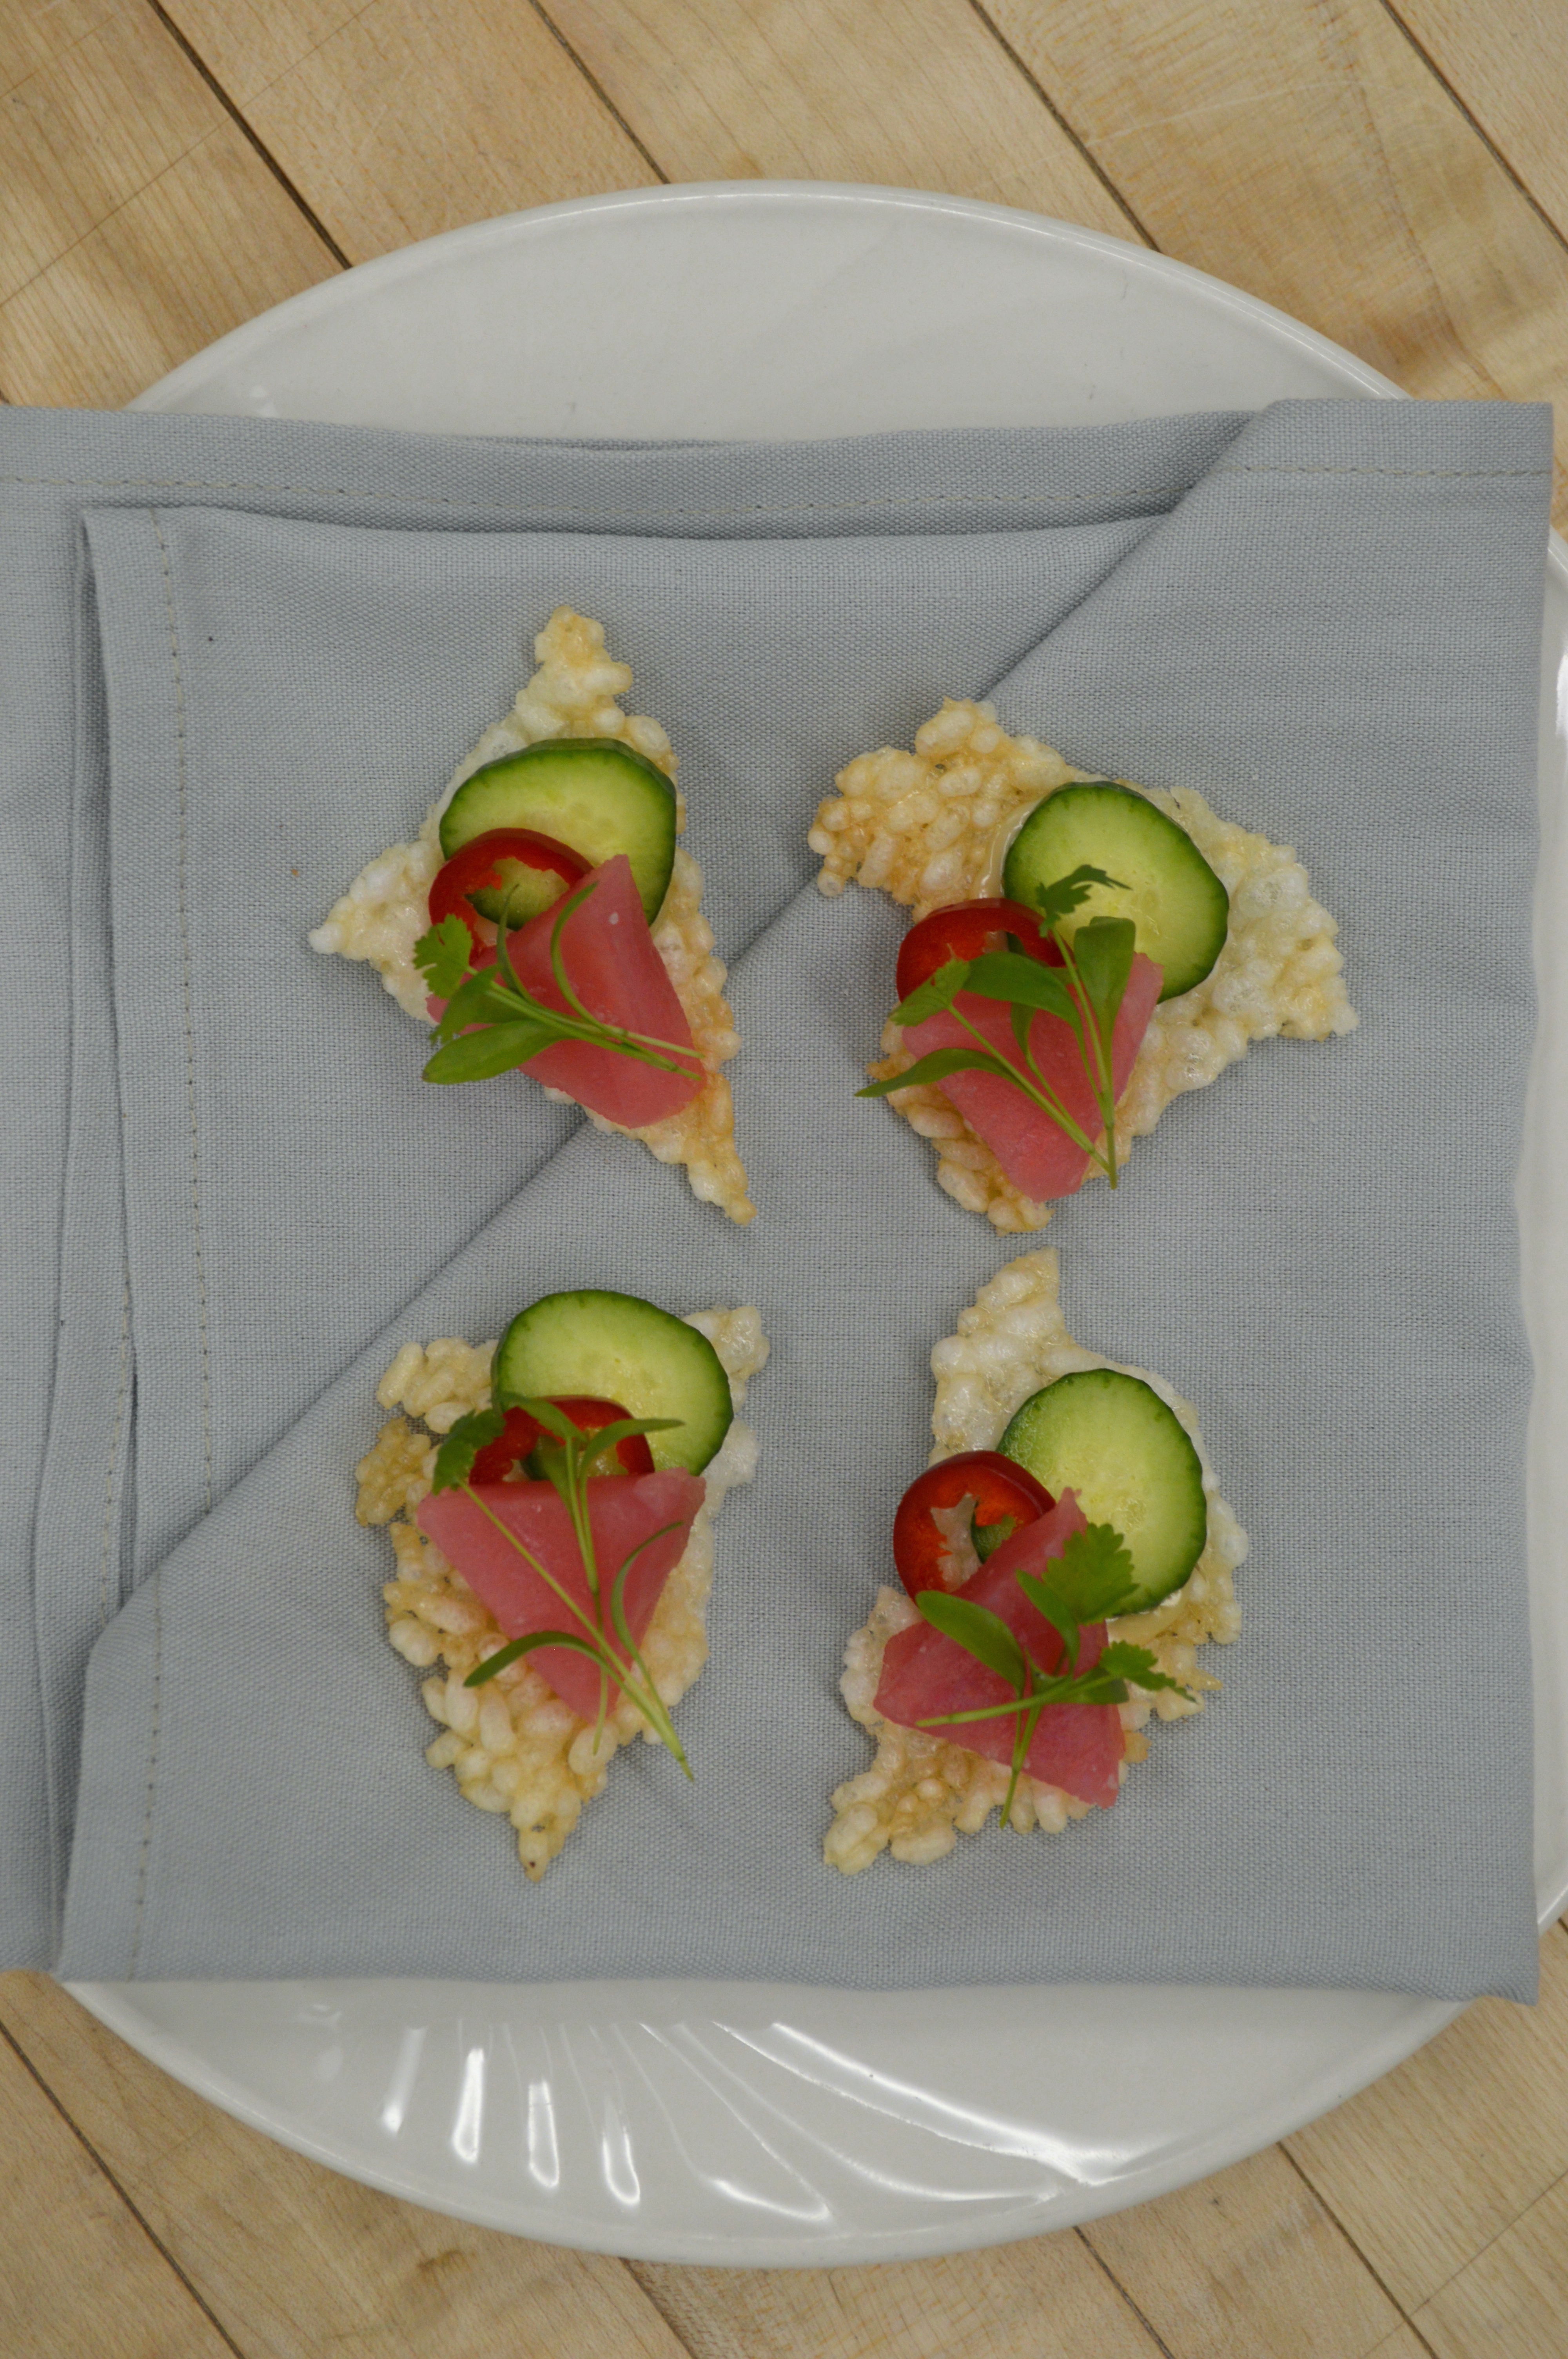
There is a recipe for rice crackers in the Eleven Madison Park cookbook that really caught my eye. In a nutshell: over-cook some sushi rice, then roll it into a thin sheet between two pieces of parchment. Next, dry out the sheet of rice in a low oven or dehydrator. Once it is nice and hard, break into desired shapes and deep-fry. I was fascinated by this recipe because the procedure is identical to chicharrón but applied to a wildly different ingredient. What other starches or grains could this be applied to? Lentils? Pearl barley? Pinto beans?
My first attempt at the recipe was only a moderate success. As the sheet of rice dried several cracks developed. The final dried … Continue reading.
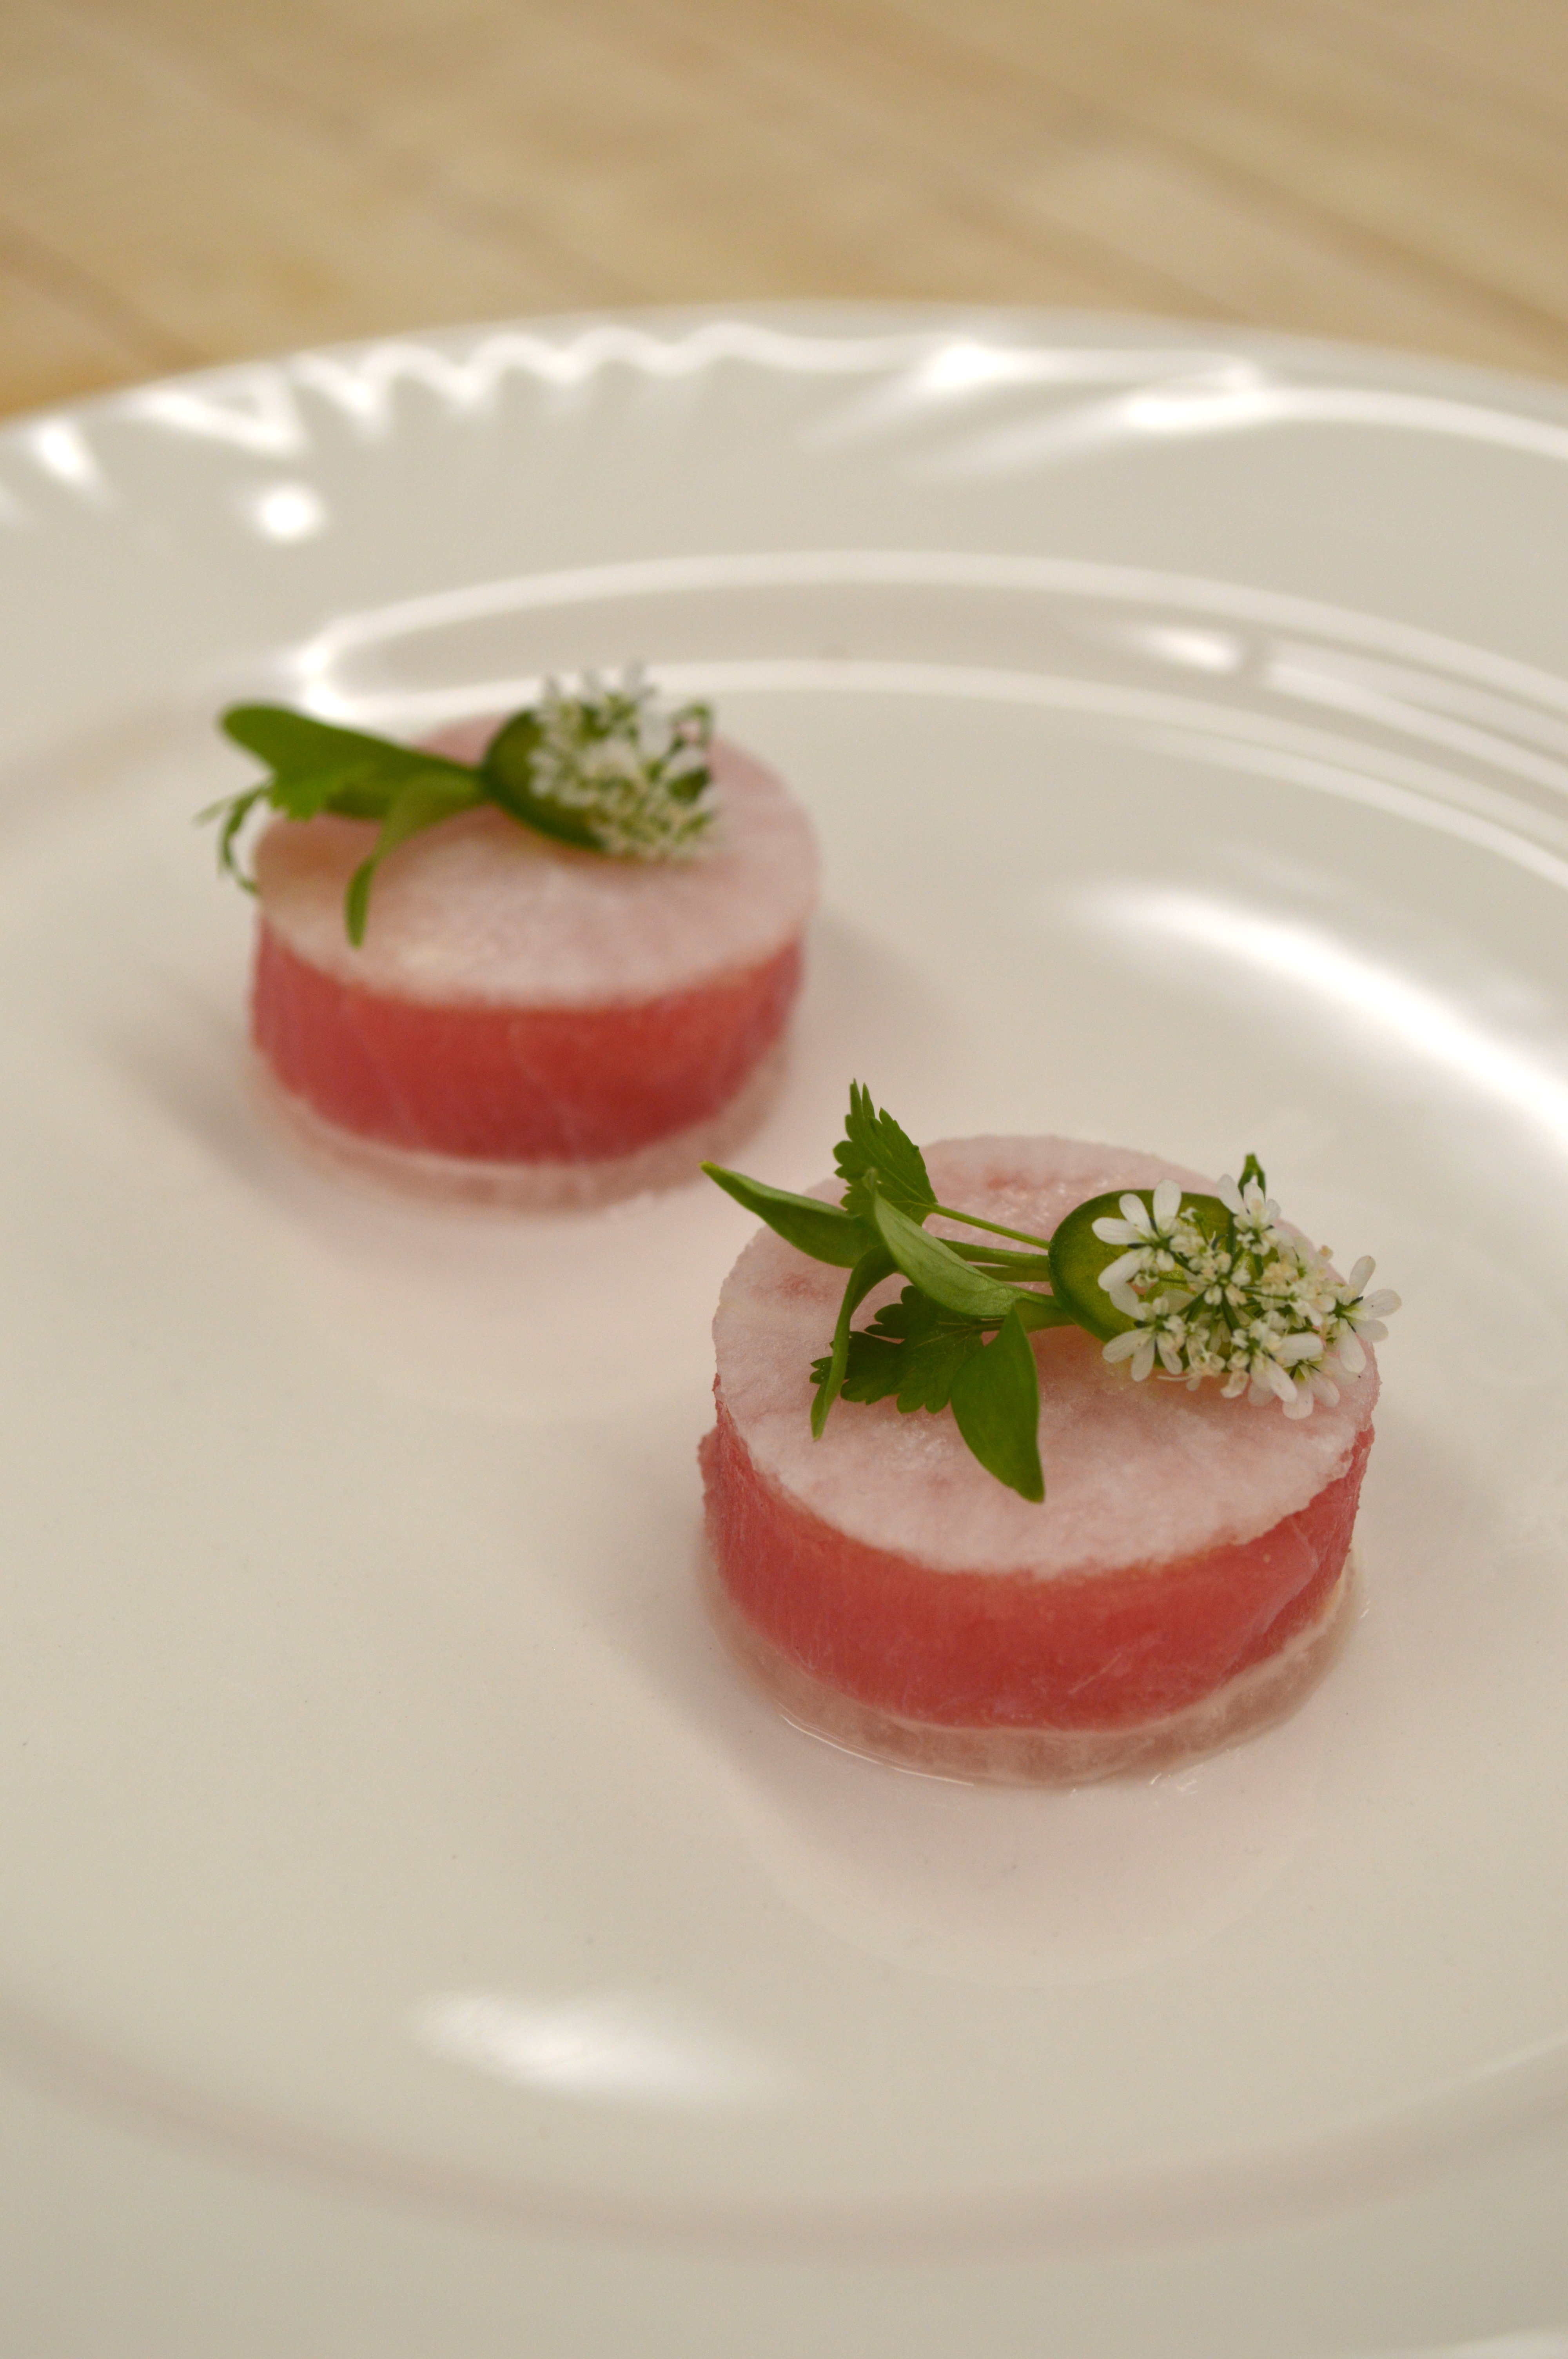
Another variation of an Eleven Madison Park offering, one I call the “Tuna Sandwich” hors d’oeuvre. In the EMP cookbook there is an hors d’oeuvre comprised of a “tuna coin” sandwiched between two rounds of fennel. Like these galettes, it is a very striking presentation that caught my eye immediately. The EMP version has the tuna brushed with lemon oil and the fennel garnished with pollen.
My simple variation uses lightly pickled daikon rounds as the “bread” in this sandwich. The tuna is brushed with sesame oil. Each piece is garnished with cilantro, serrano, and cilantro blossoms.
I’m curious to know how stable the EMP version is. I found that a small amount of oil or mayonnaise helped the … Continue reading.
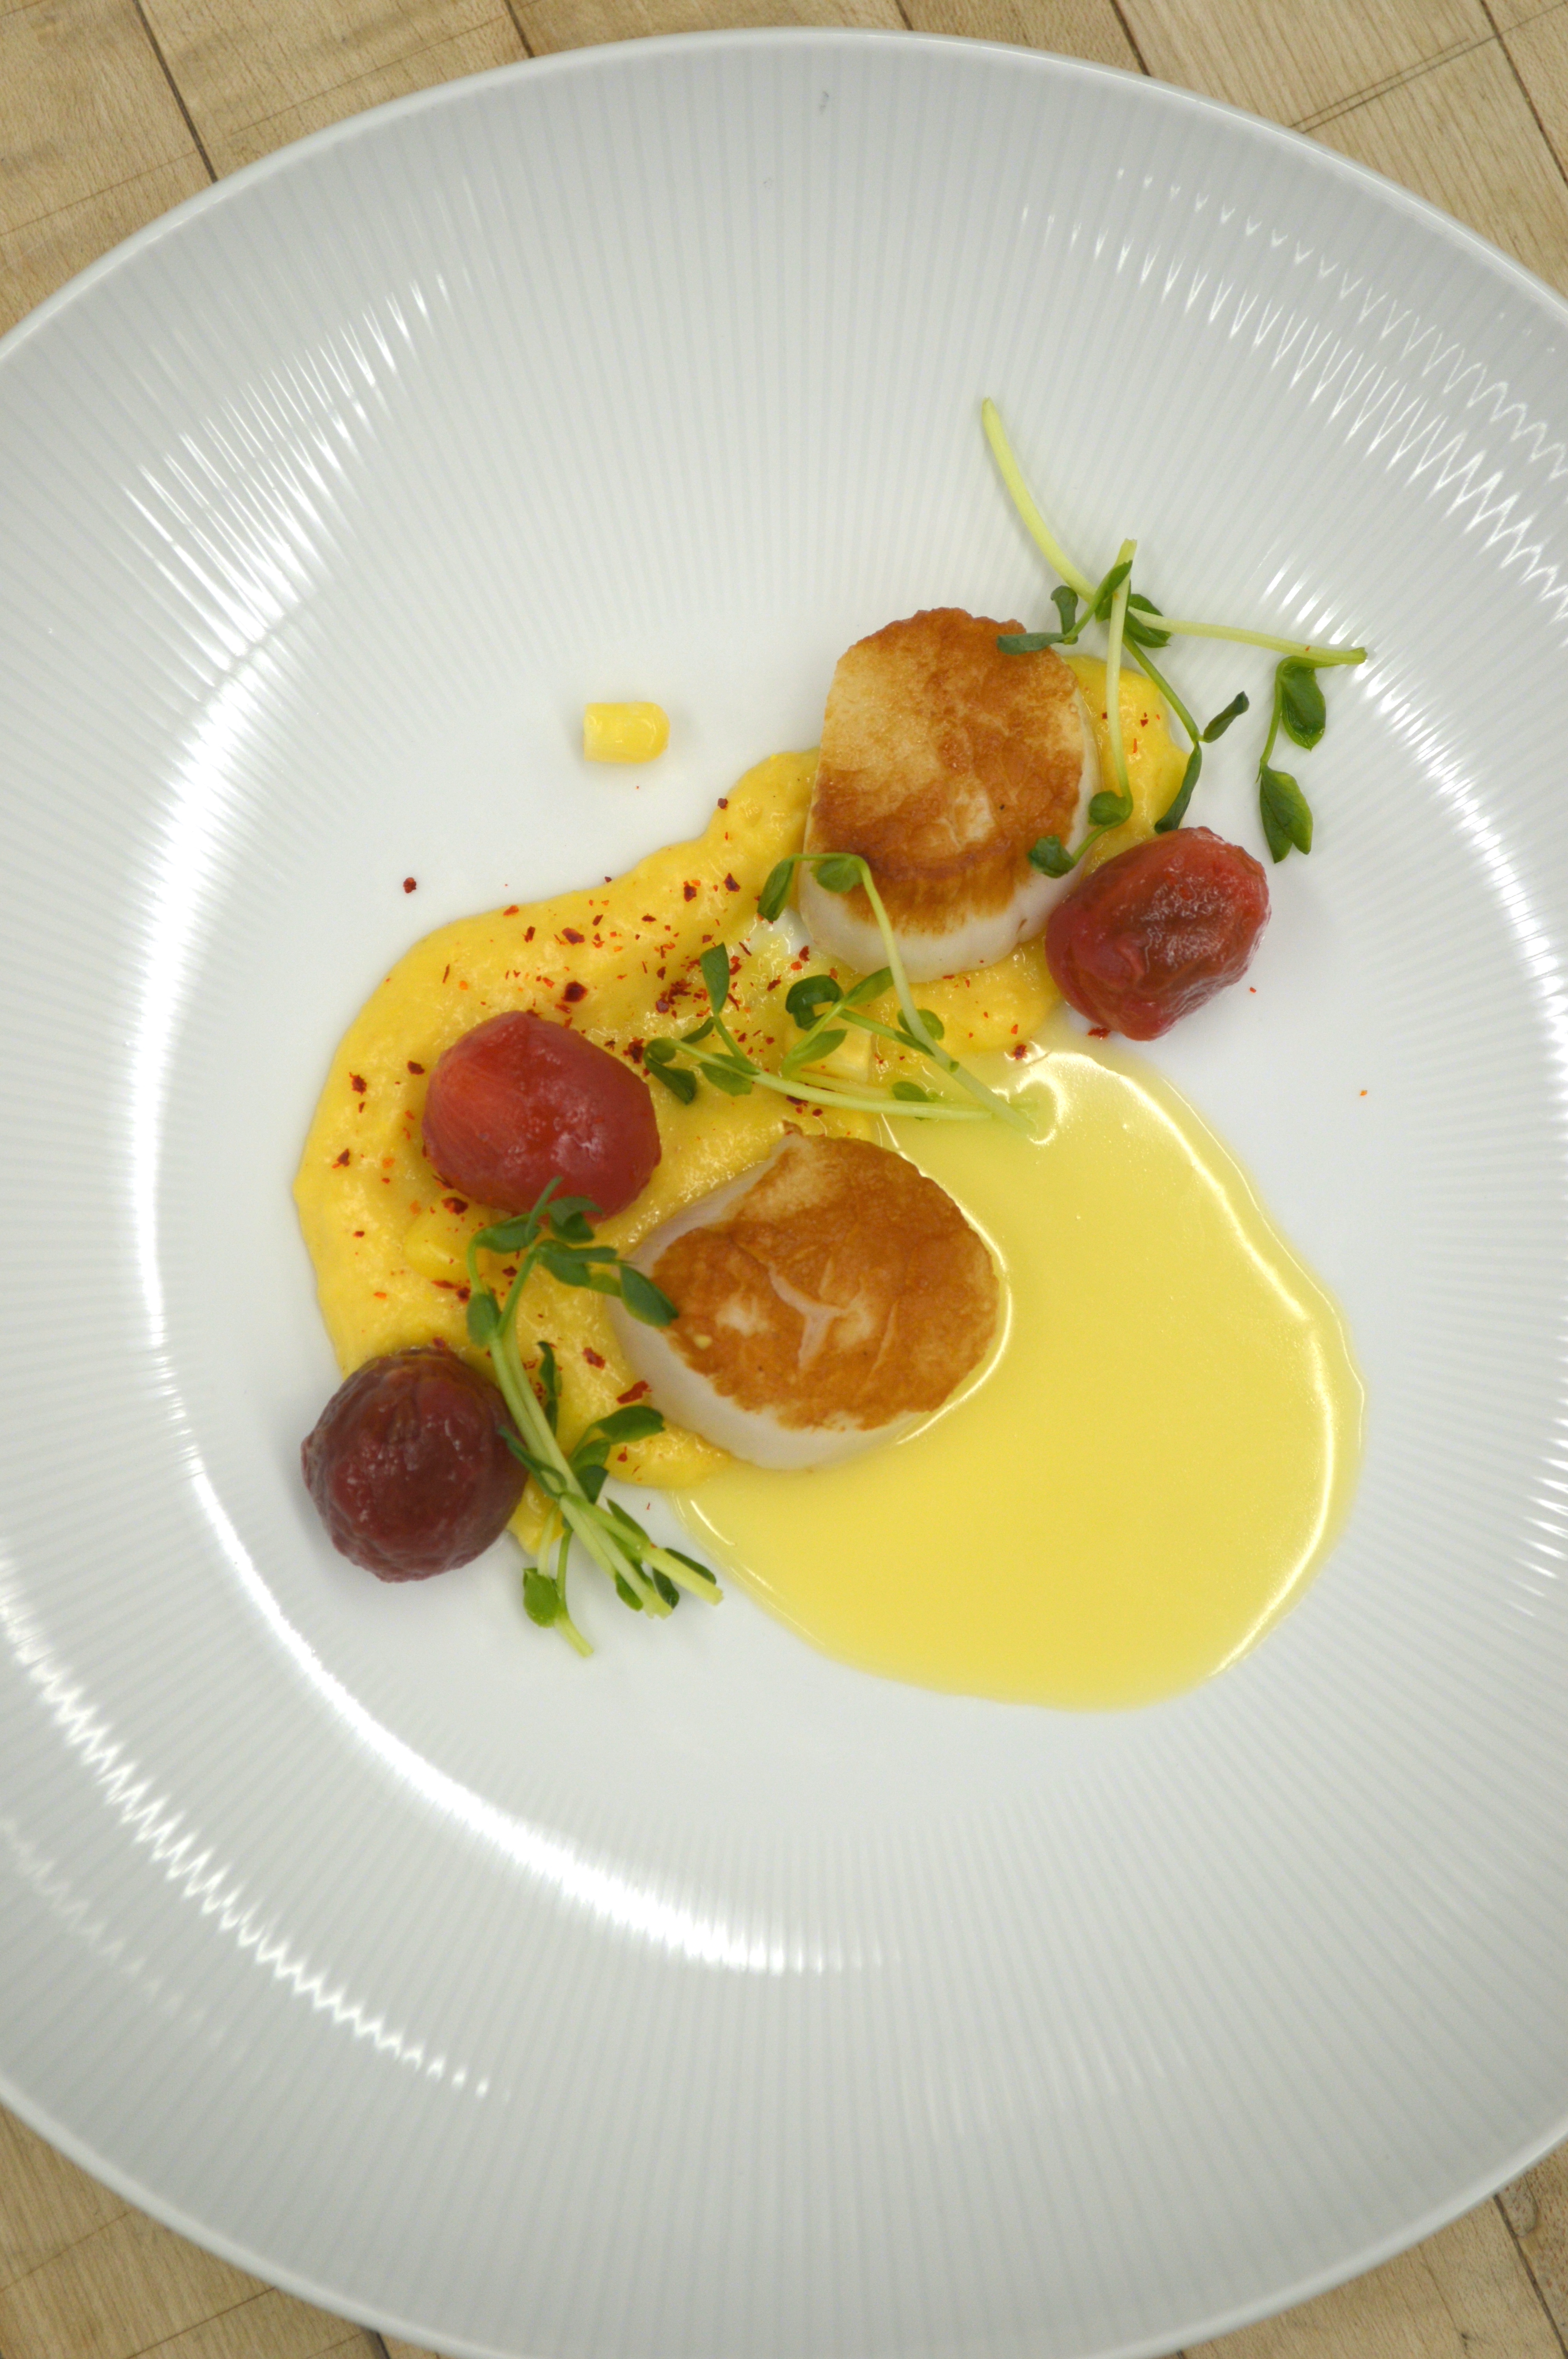
In culinary school I was taught that beurre blanc, while not a mother sauce, is a sauce of great importance. Interestingly, though it bears resemblance to Hollandaise, it doesn’t have nearly the same number of variations or “lesser sauces”. In my culinary text there were only two beurre blanc variations: herb butter sauce (throw some chopped herbs into your beurre blanc), and beurre rouge (use red wine in the initial reduction instead of white).
Lemon Beurre Blanc. Using a lemon reduction instead of wine and vinegar. I haven’t made the EMP recipe yet, but it calls for an insane volume of 1 cup lemon
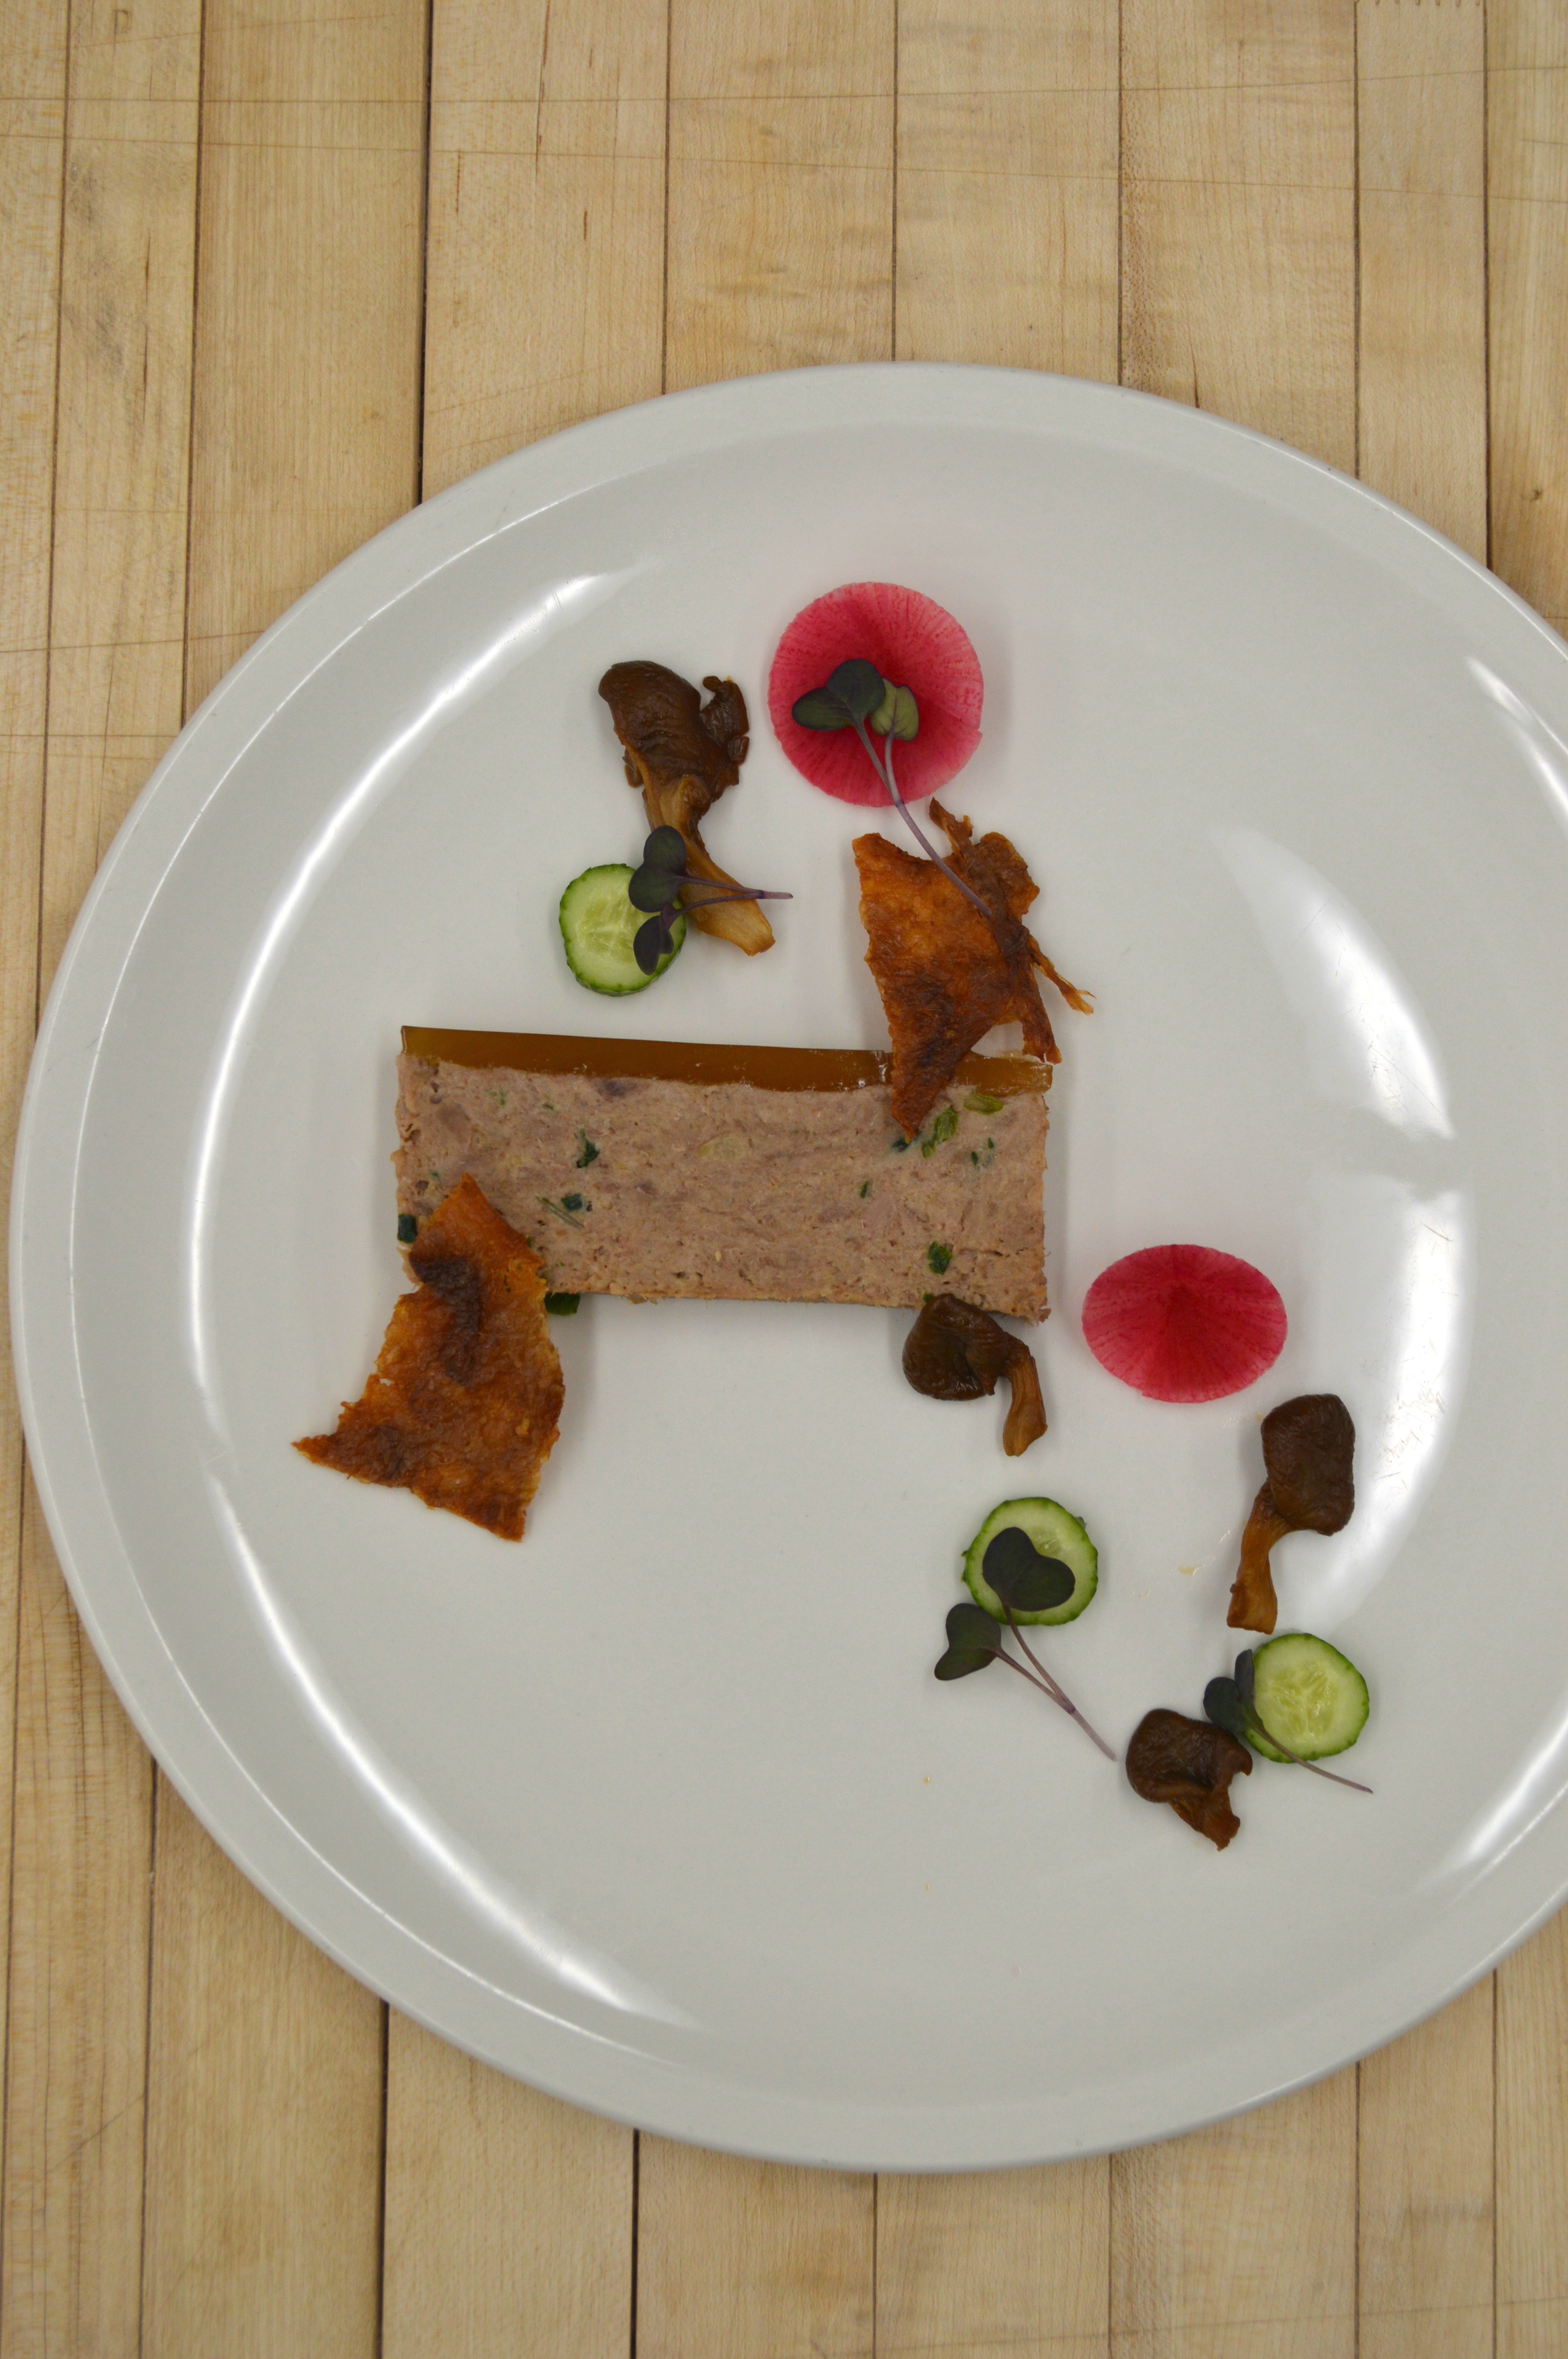
There are a few terrines and pâtés in the Eleven Madison Park cookbook that are capped with gelée. One that especially interested me is rabbit rillette topped with violet mustard gelée. I had only ever seen rillette topped with rendered lard, not a gelatin-rich liquid. Also I had only seen rillette presented in a ramekin, or perhaps shaped into quenelles, or spread on toast; I had never seen it treated more like a terrine, sliced into tidy rectangles. It’s a great example of the finesse that distinguishes these dishes from ones you would get in a bistro or brasserie. I set out to make my own version of terrine de rillette with gelée.
Yotam Ottolenghi is one of the most influential chefs in the world right now, for both home cooks and professionals. His books Jerusalem and Plenty are entirely vegetarian, and must-reads for contemporary cooks. They are great because the techniques are simple, but he takes them further than usual and produces brave, vibrant dishes. By giving vegetables simple treatment and then going wild with nuts, fruit (fresh and dried), spices, herbs, and cultured dairy, he has provided a watershed repertoire and vernacular for professional chefs who want to feature vegetables more prominently. Some of his dishes have been wholesale adopted as modern classics by small-plates restaurants. His Moroccan Spiced Carrots and Yogurt dish alone I have seen variations of at Hawthorn, … Continue reading.
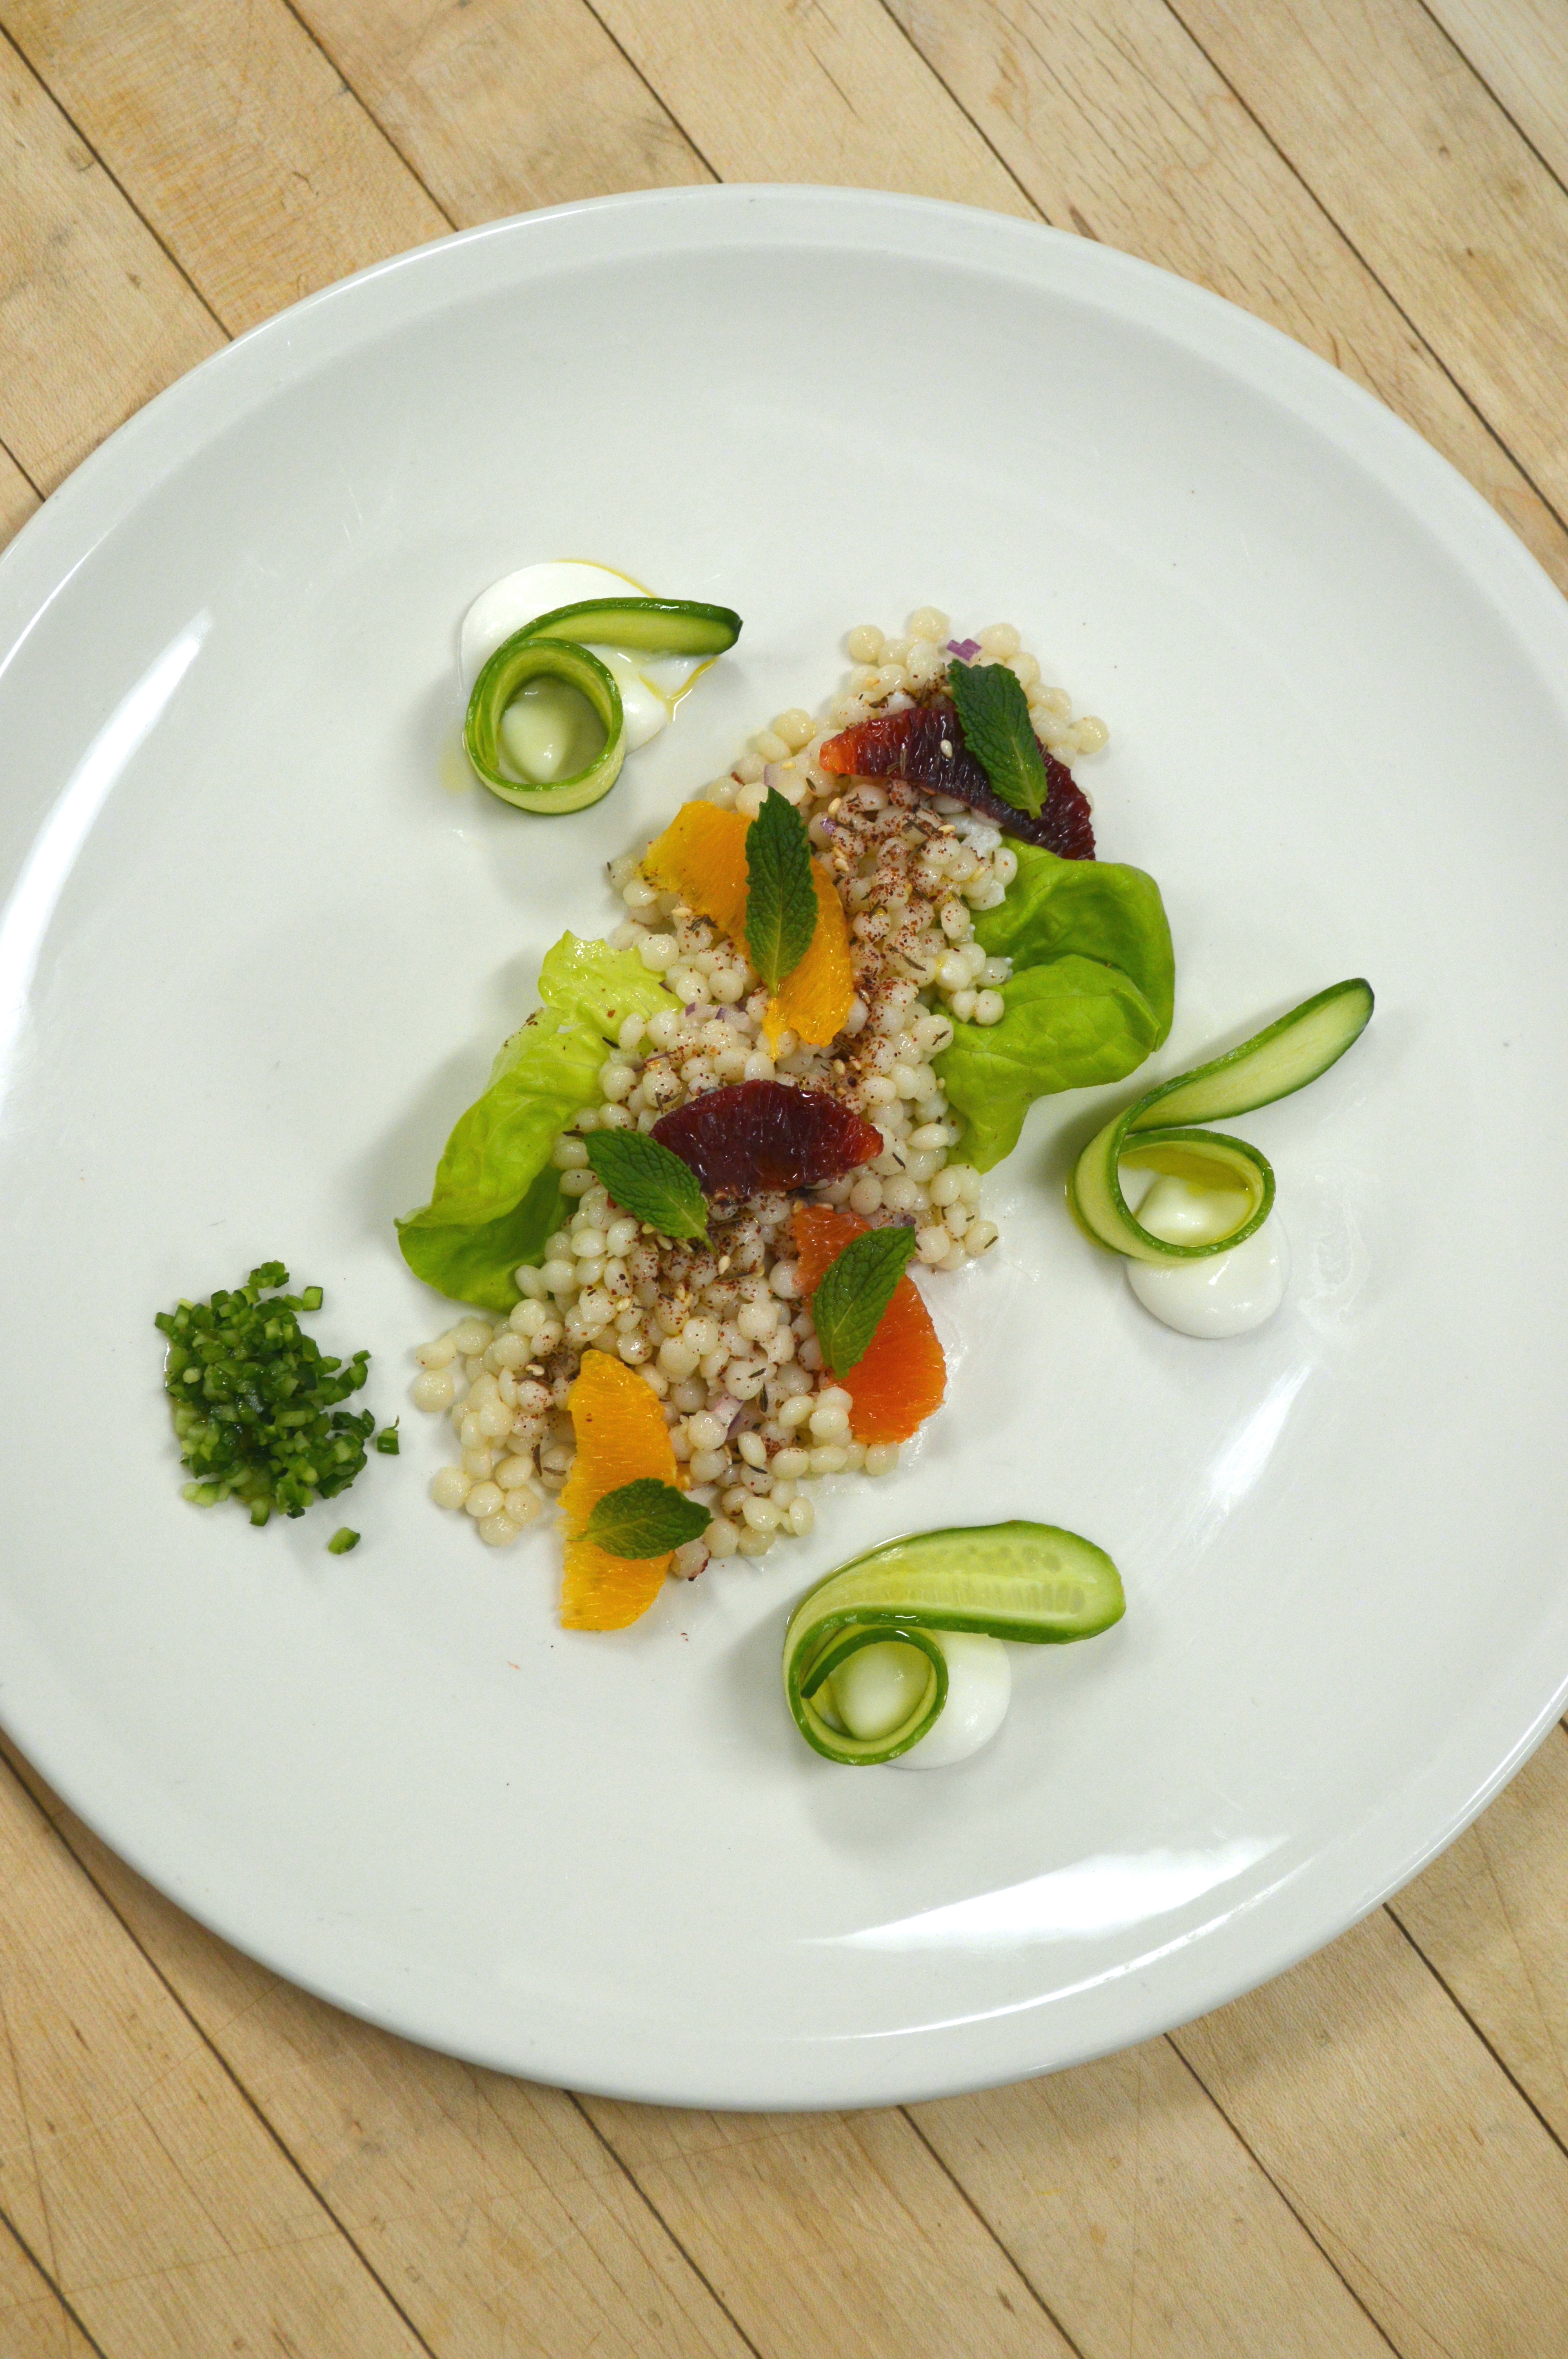
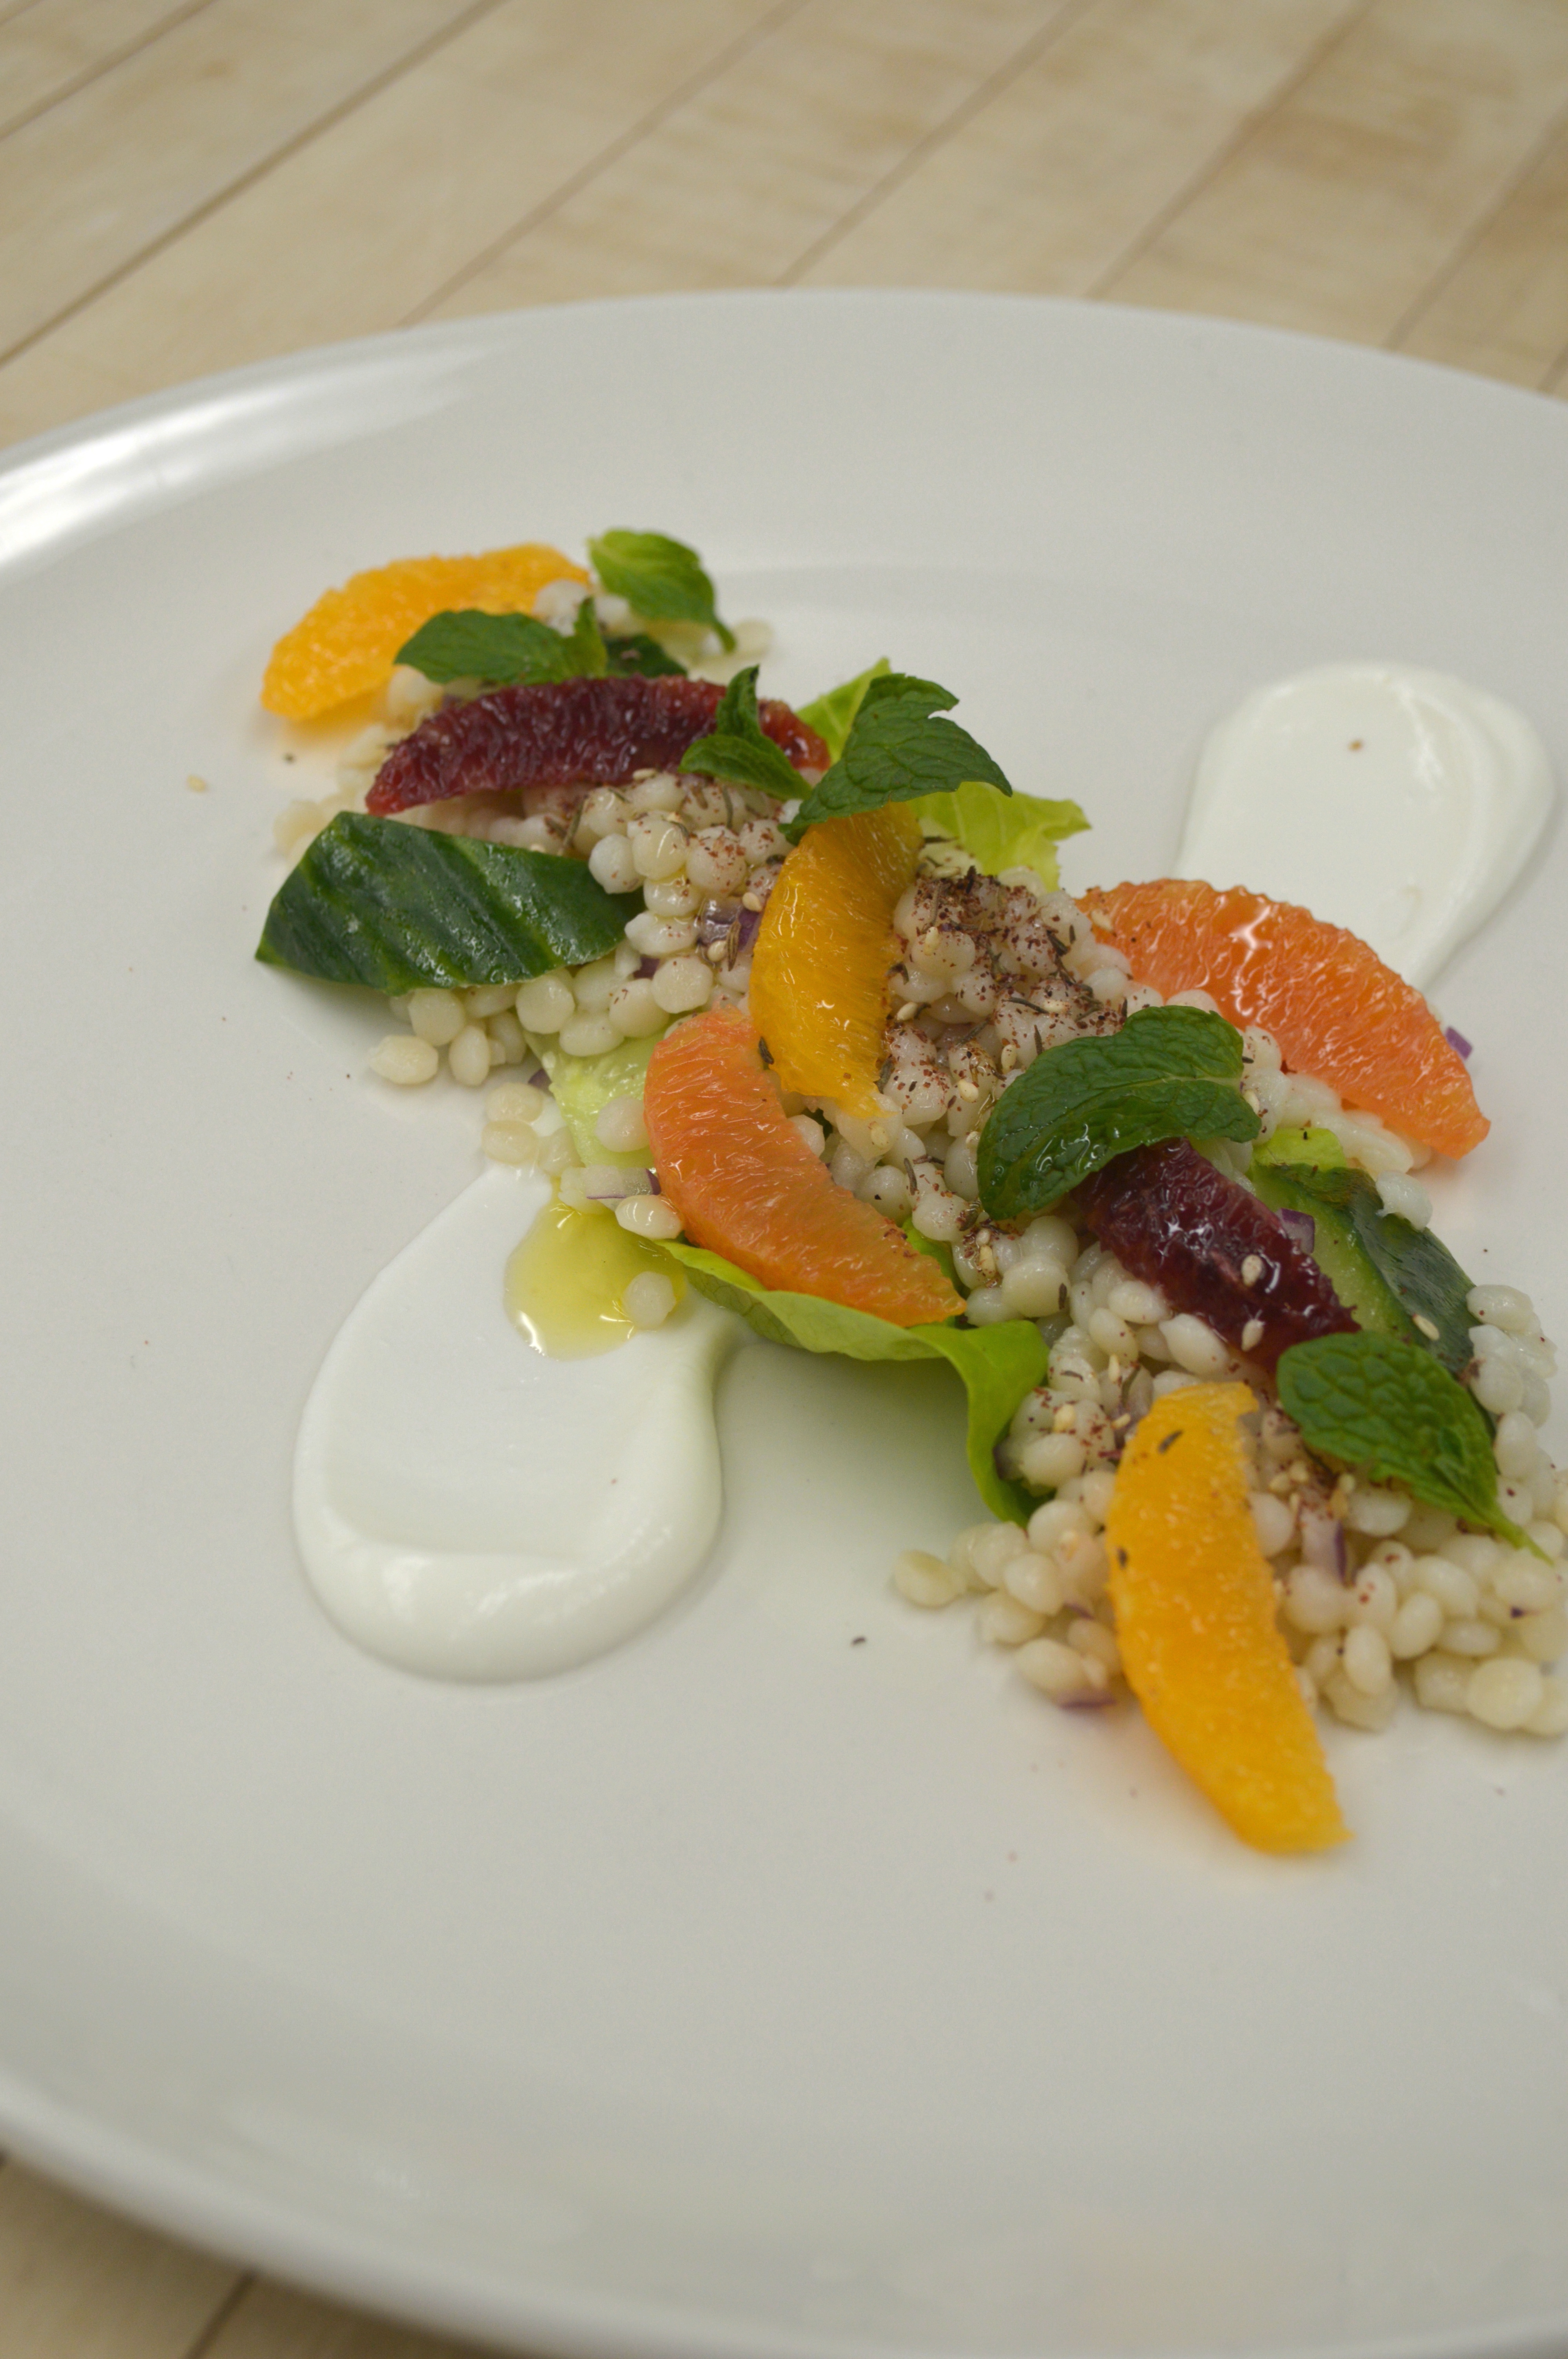
There are a few small preparations in the Eleven Madison Park cookbook that use a microwave to desiccate ingredients. The simplest of these is the “Olive Powder” in the Couscous Salad.
In a nutshell: line a microwave-safe plate with plastic wrap, finely chop some pitted black olives, spread them over the plastic and microwave until dry and crispy. The recipe in the book says two minutes is enough. Even for the small amount I did it took closer to four. Maybe mine weren’t chopped as fine as theirs.
The result is an attractive, jet-black olive crumble that tastes like, well… olives.
While this olive powder is okay, it’s interesting to think of this as a generalized technique for desiccating. Caper … Continue reading.
I’m on the fence about this one. The Eleven Madison Park cookbook contains a few vegetable preparations variously called “caviar” and “couscous”. They are uniformly tiny pieces of vegetable that are seasoned and dressed. The consistency is achieved either by meticulous knifework, or in the case of veggies like broccoli, by paring off the very tips of the florets.
On the one hand, I appreciate the beauty, the display of fine knifework, and the using up of trim. Especially for broccoli, the “couscous technique” is an example of parsing or deconstruction that lets you appreciate a specific part of a specific vegetable.
On the other hand, it’s minced raw vegetables, and to employ the terms “caviar” and “couscous”, even with … Continue reading.
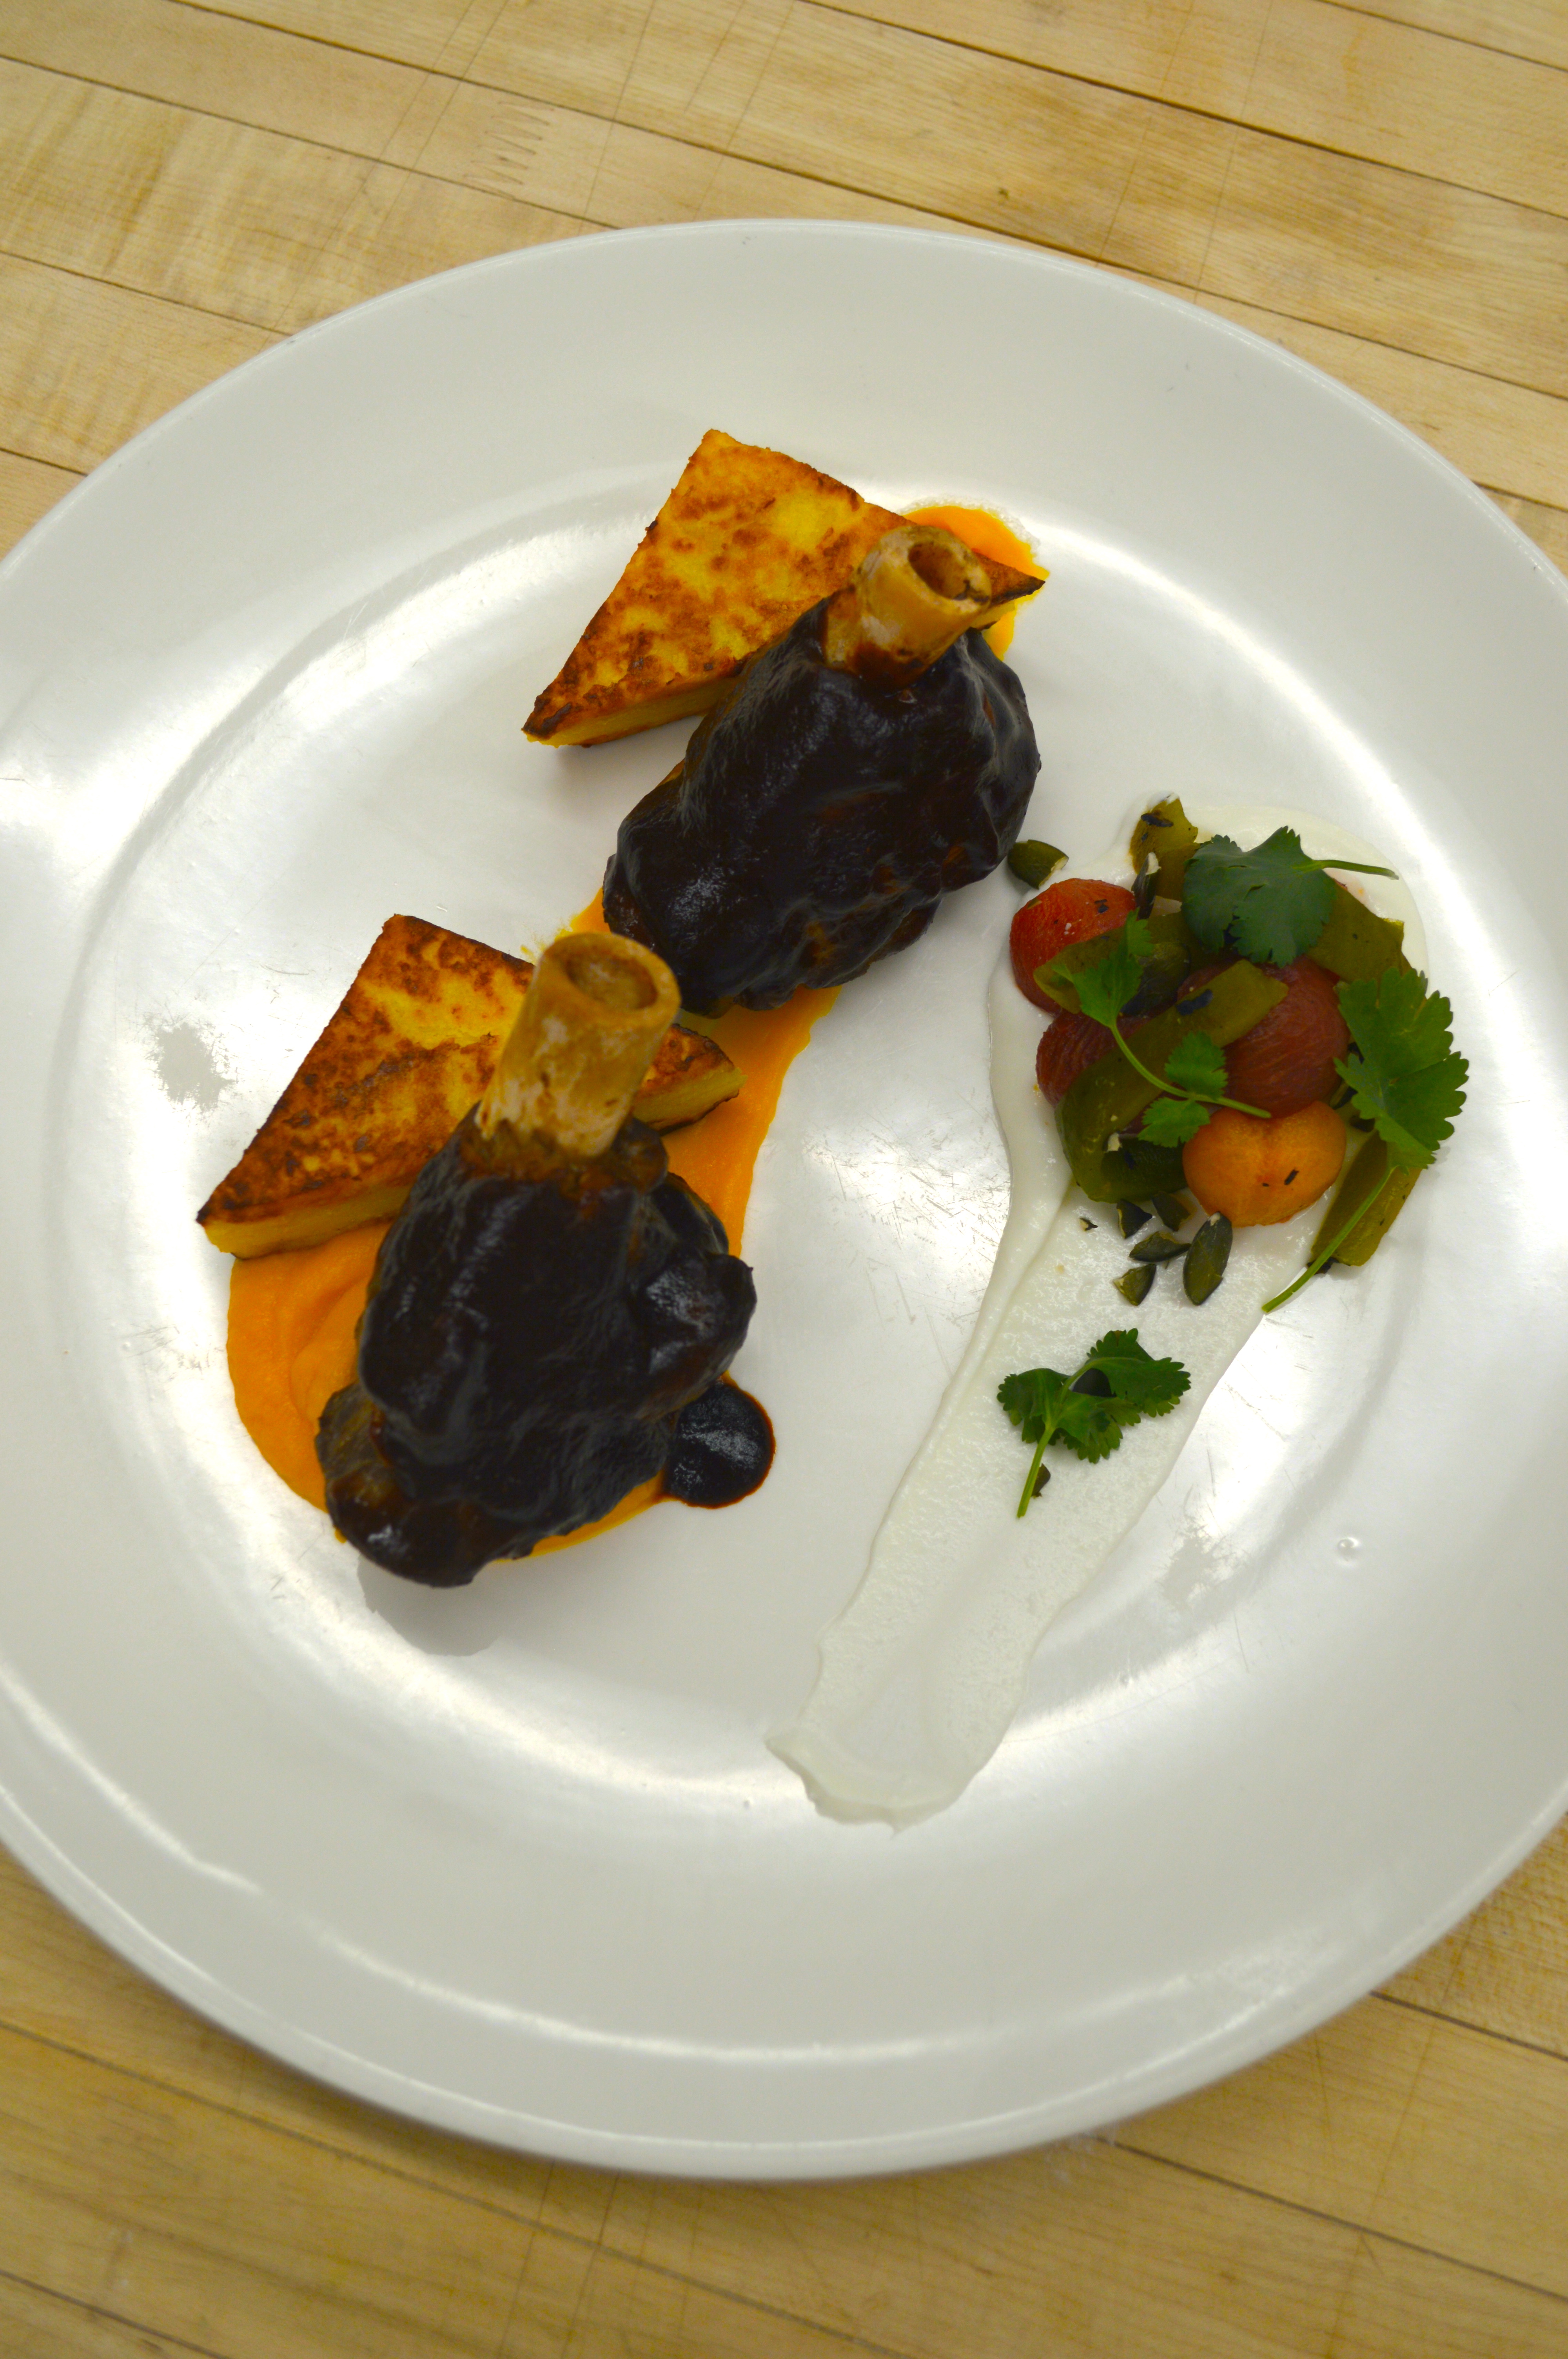
This is a dish of ancho-braised lamb shank with panisse, squash, yogurt, and a warm salad of tomato, charred green pepper, cilantro, and pumpkinseeds.
While the components are compatible and well-integrated, there were many disparate inspirations.
Core Elements and Inspirations
I like to have one braised item on every menu. It is an essential technique for my students to learn, it’s a good balance to the many lean pan-roasted or grilled proteins on our menu, and it helps simplify service as it can be hot-held. I decided lamb shank would be this season’s braise.
Baby’s first fluid gel! Fluid gels are an entire category of sauces that are ubiquitous in contemporary cuisine. I avoided them for years, another example of my old disdain for things I considered “modernist”.
Flipping through the Eleven Madison Park cookbook I saw several dishes in which yogurt was drawn across the plate in perfectly smooth lines. I had recently used yogurt on a lamb dish, and not only did it not look smooth, it also tended to weep a bit of moisture when put on a warm plate. I finally discovered that the yogurt component in these EMP dishes were actually dairy fluid gels made with agar agar. While the yogurt has to be somewhat diluted with milk or … Continue reading.
The personal website of Edmonton chef Allan Suddaby