This is a guest post by the Button Soup Sr. Backyard Correspondent Lisa A. Zieminek.
My name is Lisa. You might remember me from such posts as “Candied Lilac” and “What to do when your boyfriend hides food experiments all over the basement” (link not available). Today I’m here to talk to you about worms – not the kind that you get from eating street food in Thailand; the kind you use for composting. That’s right, we’re going to talk about vermicomposting.
Vermicomposting is a fancy name for putting worms in a bin and letting them eat your food scraps. It’s a great option for people who live in apartments or don’t have space for an outdoor compost. In our case, vermicomposting allows us to compost throughout the winter. Otherwise we would just be adding stuff to our frozen outdoor compost pile, but it wouldn’t really do anything until the spring. Also, who wants to trudge through the snow in -30°C to add stuff to a compost bin. Once the gardening season rolls along we have a bin full of super fertile soil-amending goodness.
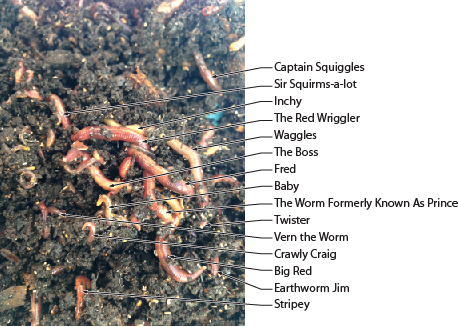
I set up our first worm bin this past January. Setting up the system was really easy. Probably the hardest part of the whole set-up was naming all of the worms.
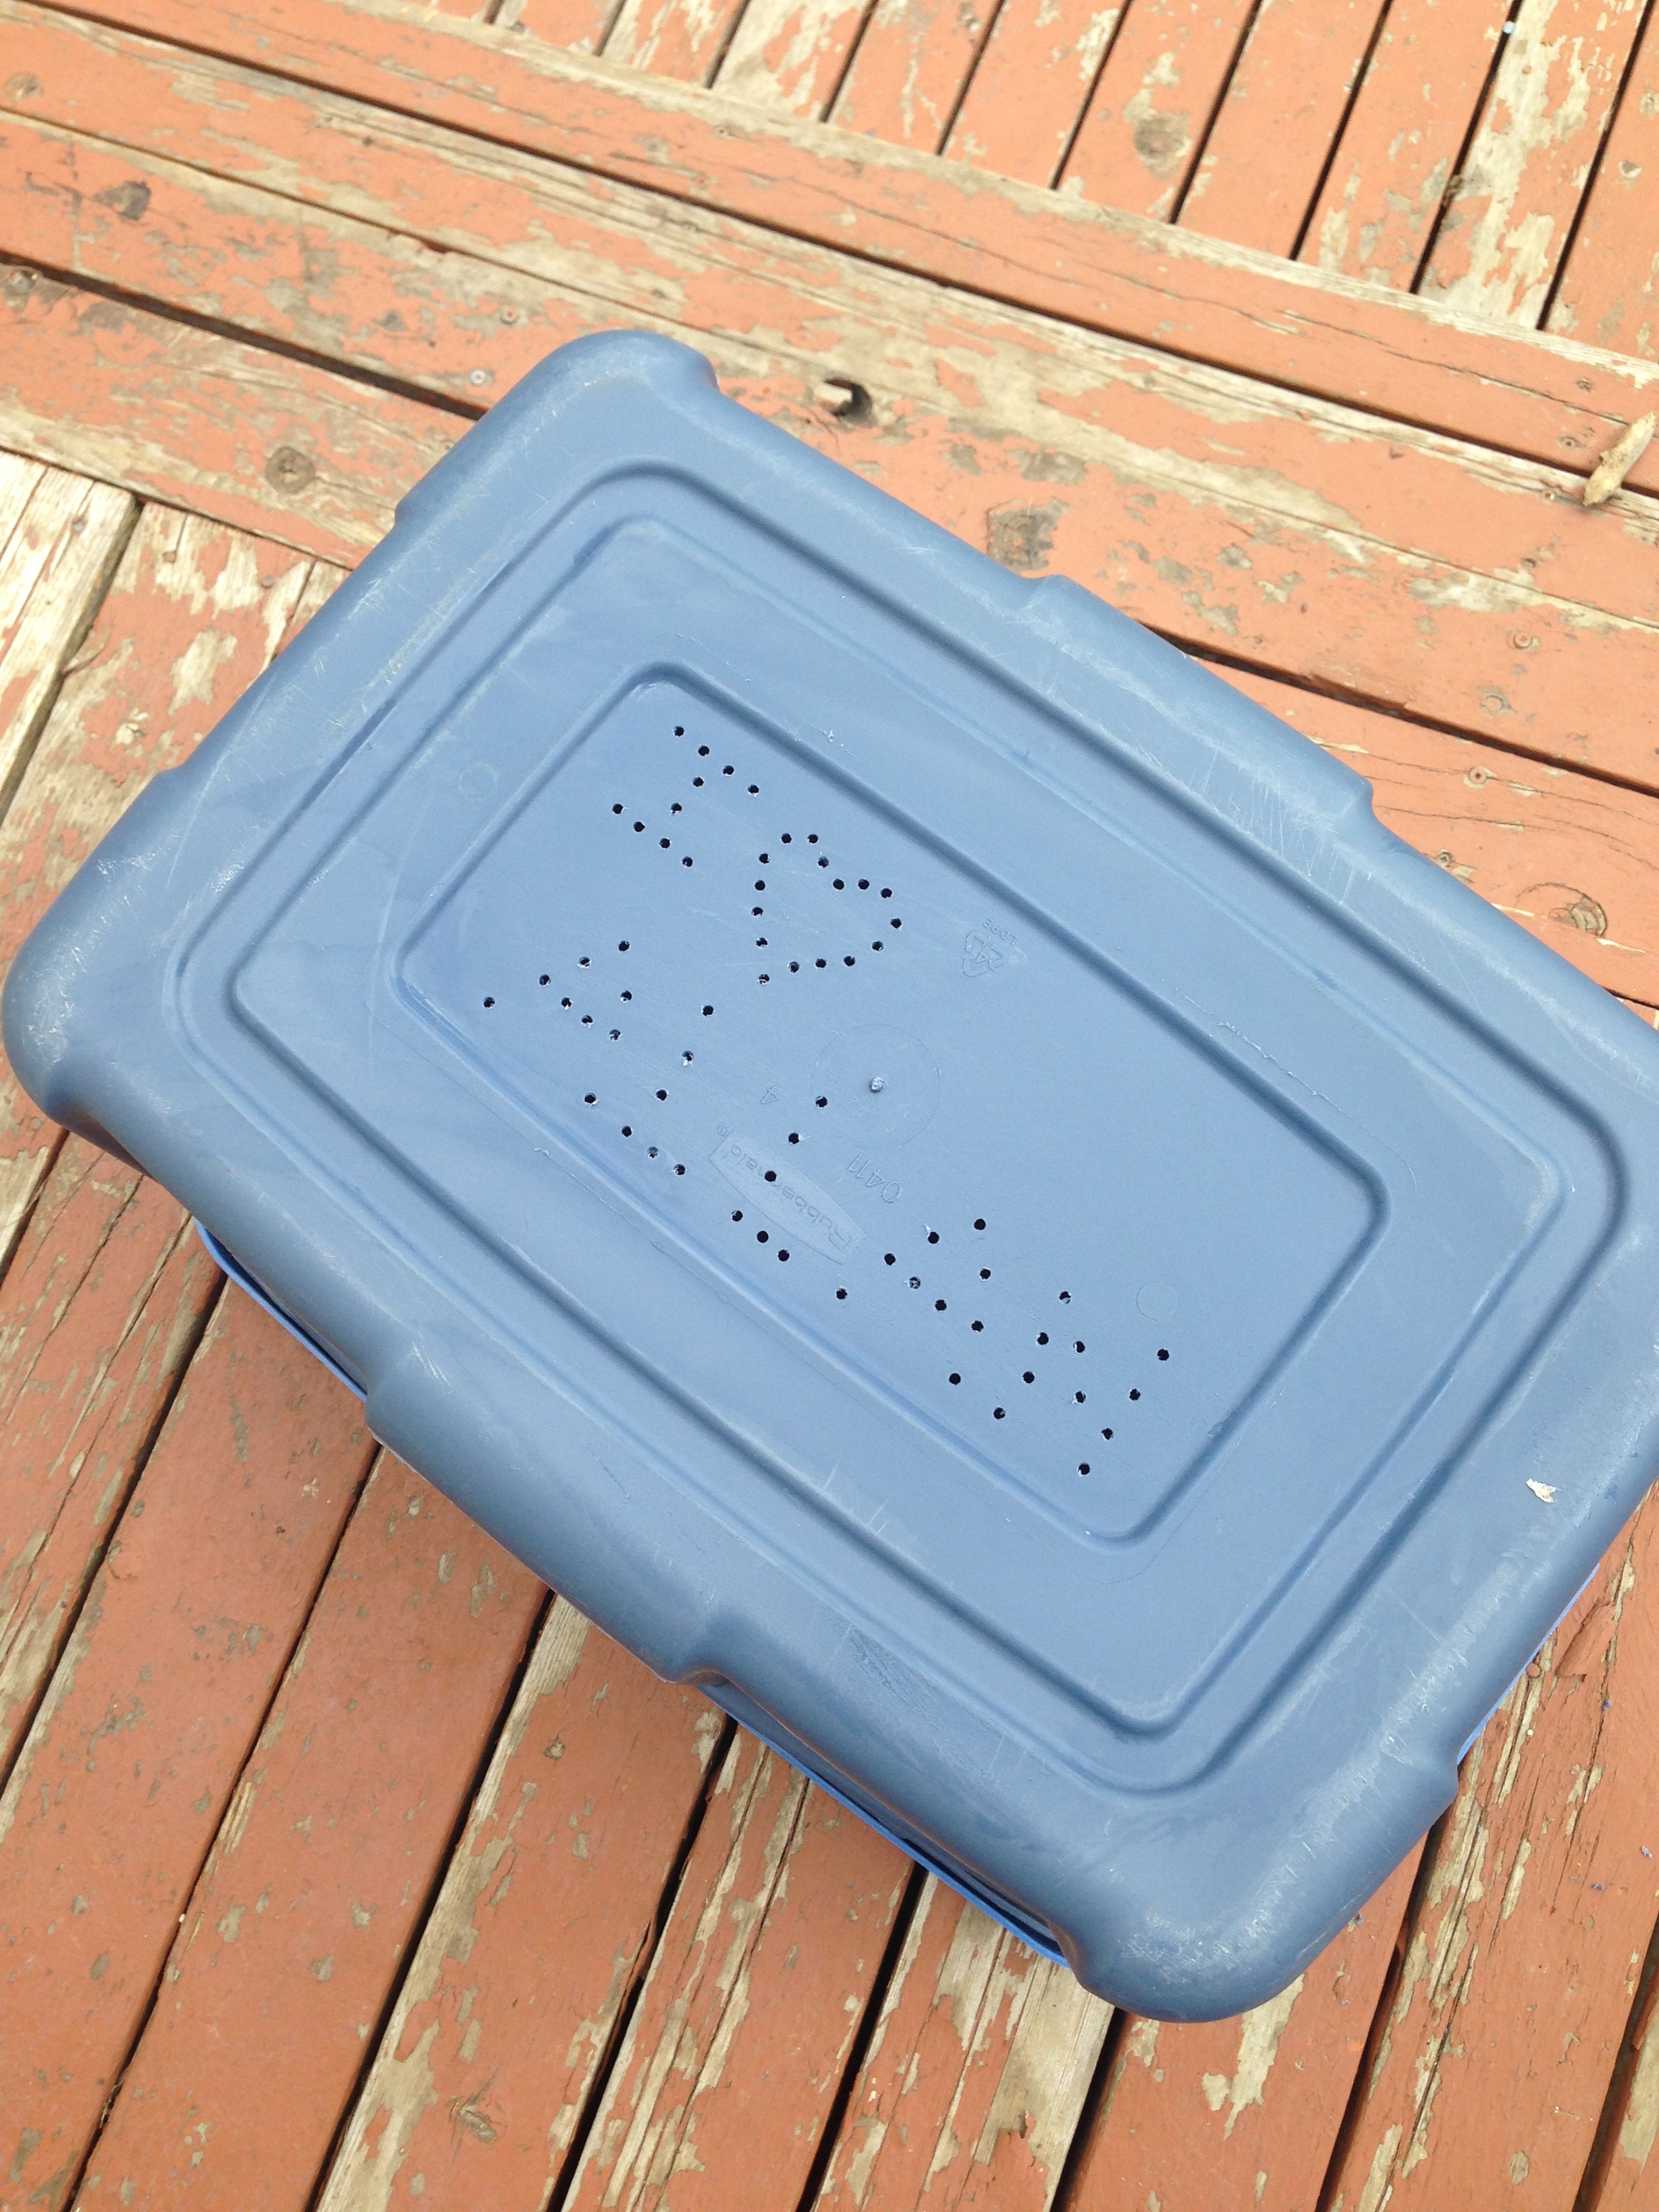
All you need to set up your very own worm bin is an opaque plastic bin, a drill, some newspaper or cardboard, a shredder, and some worms. Drill holes in the sides of the bin. This will allow some airflow so the worms don’t get too moist:
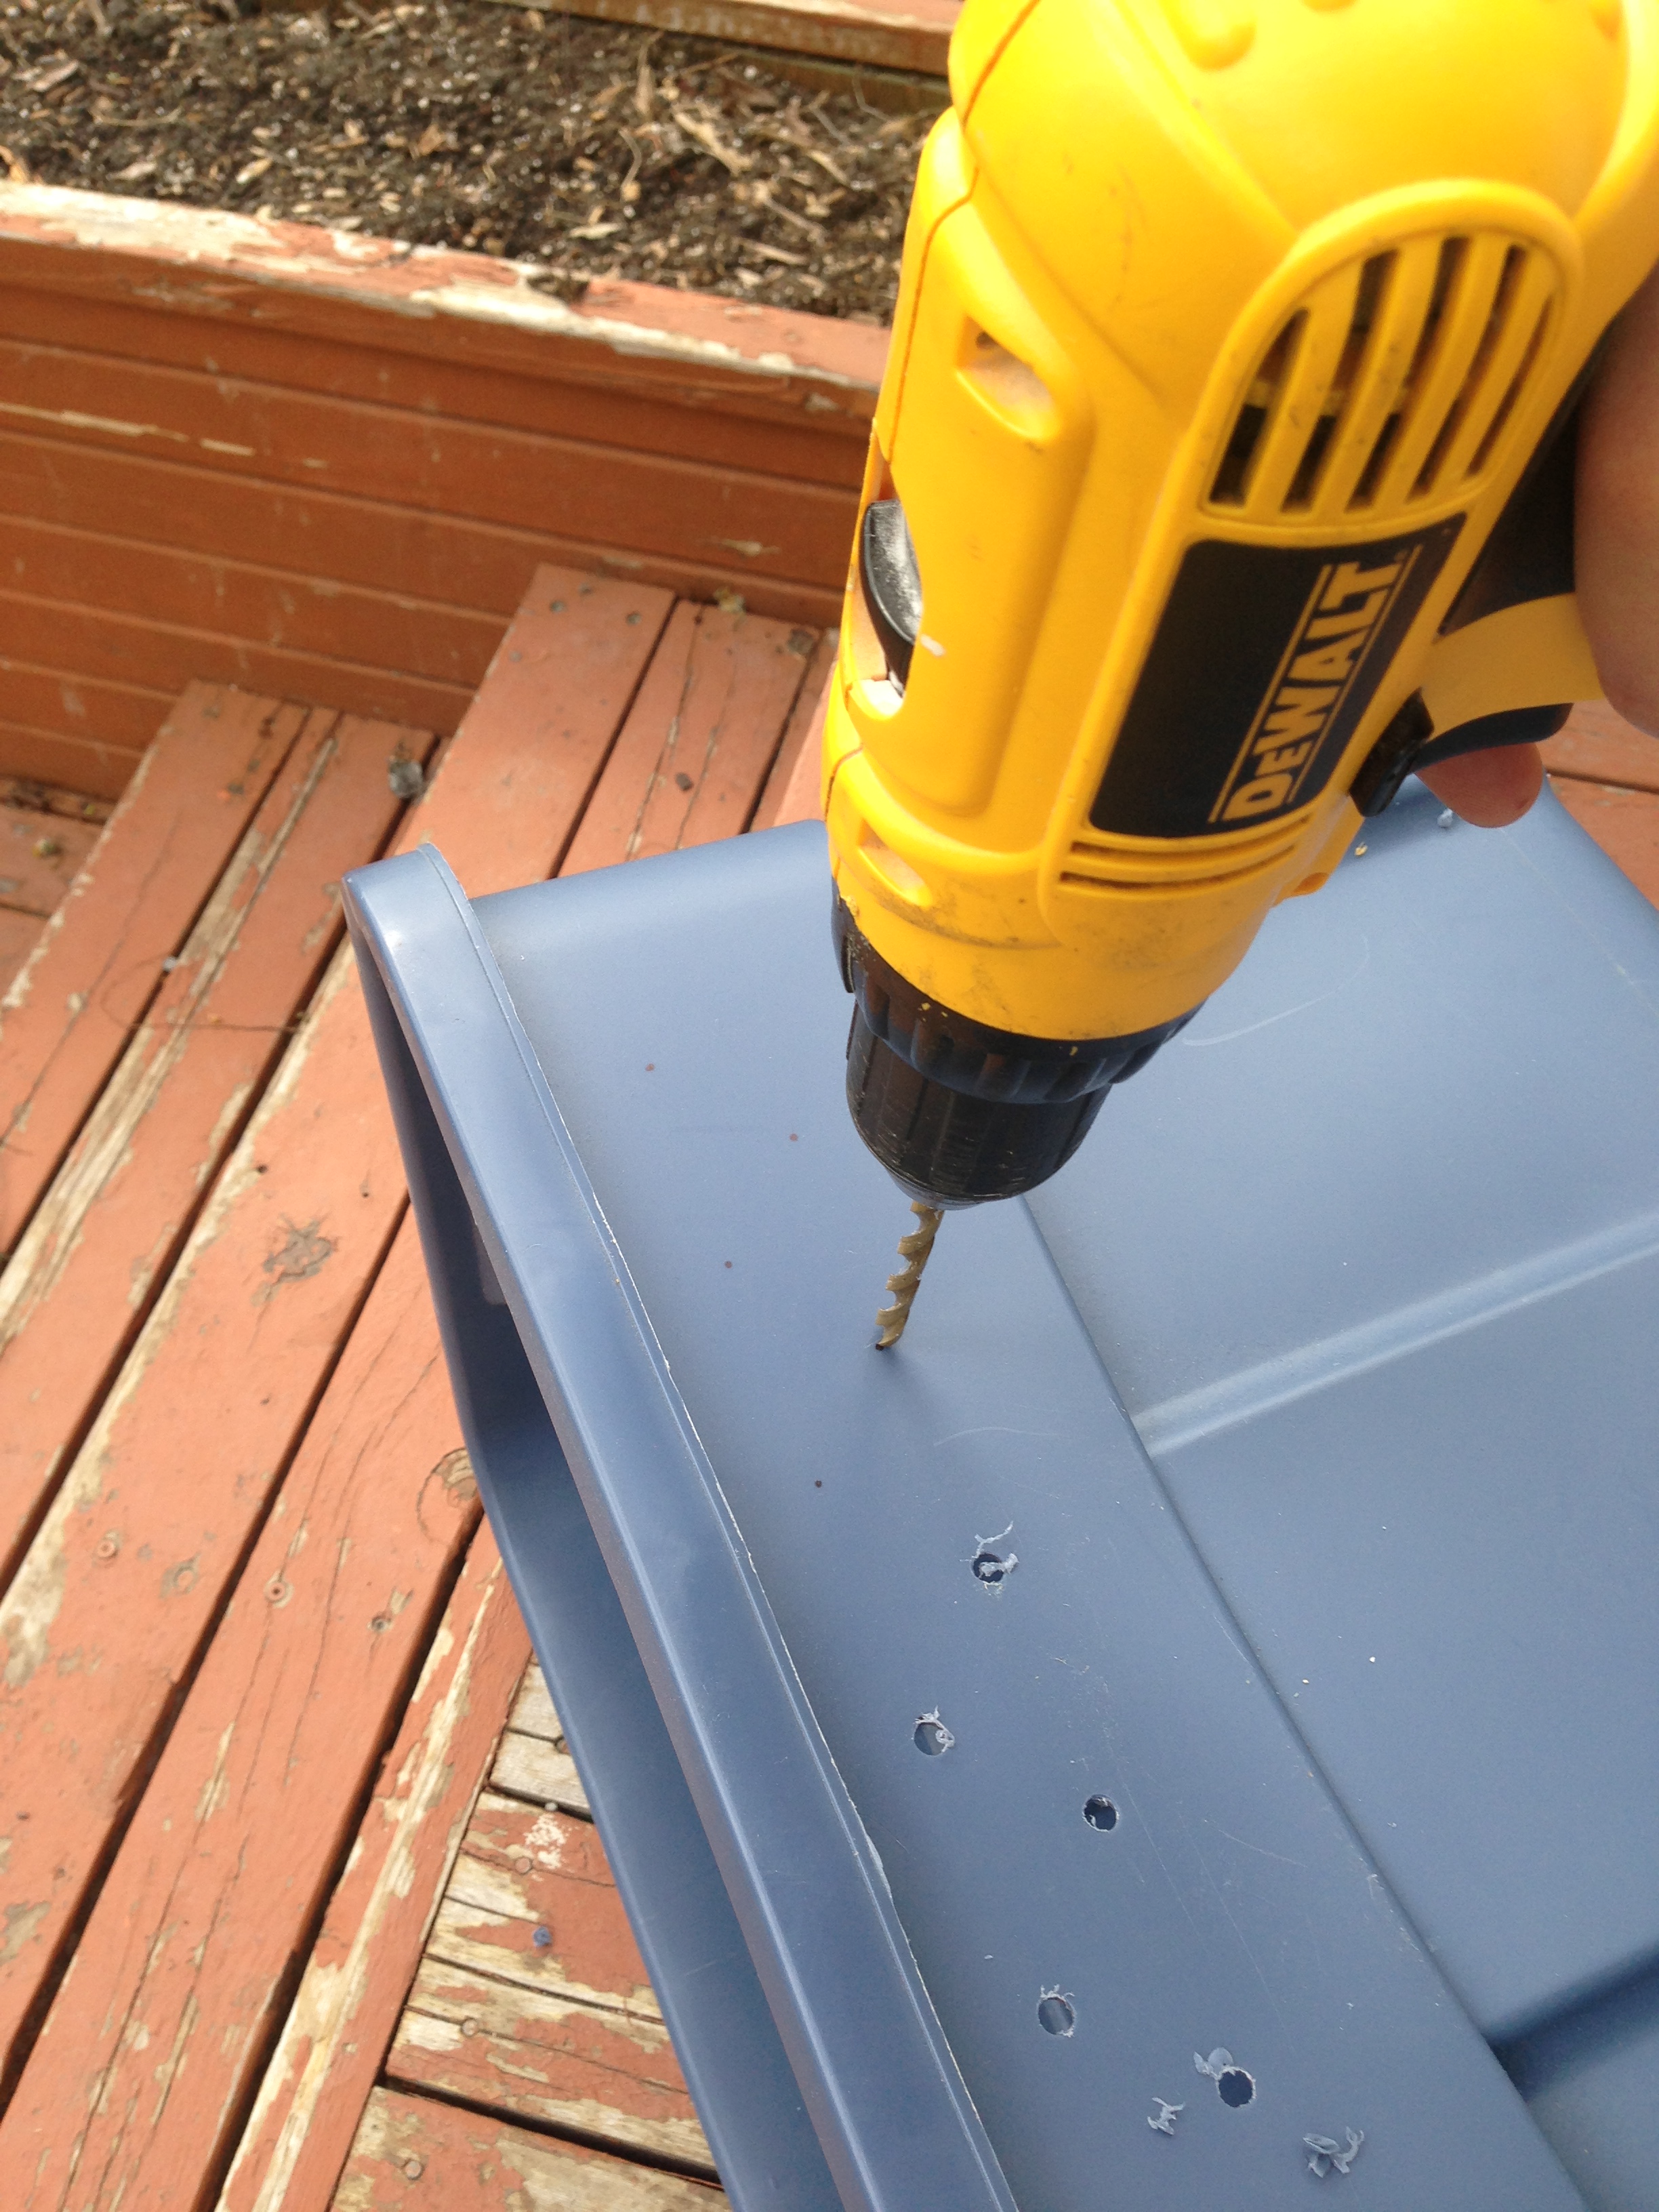
You can also drill holes in the bottom. This will allow any excess moisture to drain out of the bottom of the bin. Actually you want to prevent your vermicompost from getting so wet that there would be water draining out, but the holes are there just in case.
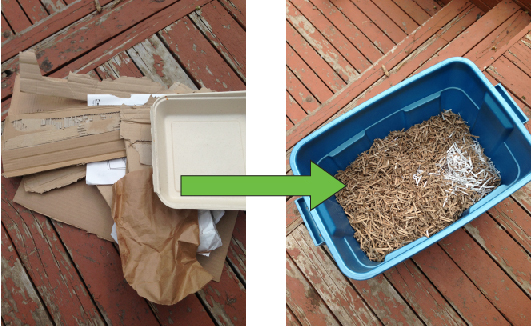
Next, find some newspaper or cardboard. This will act as bedding for the worms. This should be plain newspaper (not glossy inserts) and regular cardboard. Run it through a paper shredder. Soak it in water, then ring it out so it has the wetness of a damp sponge. Fluff it back up and put it in your bin.
Basically your bin is ready for worms now. I bought my worms at Earth’s General Store. They are a little pricey, but you should only need to buy them once: eventually you’ll have enough worms to make multiple bins for your own house, plus make bins for all your friends. The type of worm normally used for vermicomposting is Red Wriggler, or Eisenia fetida. You can add the worms to the bin, along with a couple cups of soil. That’s it! Your bin is ready to go. You can start slowly adding food scraps to the bin. Most information I read said the worms can eat about half their weight in food each day (so if you bought a pound of worms, they can handle about a half a pound of food each day). They might take a little while to get used to their new home though, so start with small amounts of food. They like fruit and vegetable scraps, coffee grounds and tea leaves, and ground up egg shells. It’s best if the food is cut into smaller pieces. Don’t feed them citrus, dairy, meat, oil, or salty foods. Try to avoid putting seeds in the bin as the worms can’t break them down and they might sprout when you go to put the worm castings in your garden.
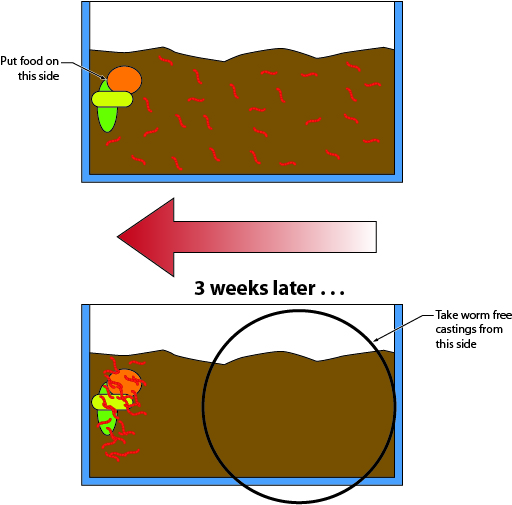
Speaking of worm castings (aka worm poop), once you’ve had your bin for a few months you’re going to want to harvest the nutrient-rich castings for your garden. There’s several methods to do this. The only one I’ve used so far involves placing some food on one side of the bin. Then, stop feeding the worms any other food for the next few weeks. The worms will all migrate to the side with the food, and the other side will be mostly worm-free castings that you can take out for your garden.
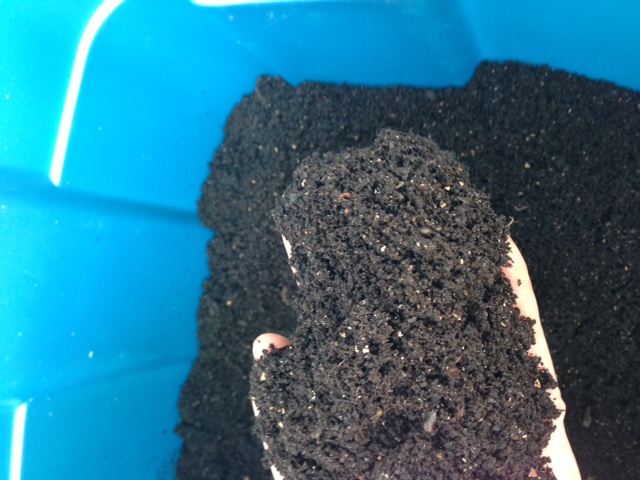
The worm castings are a great addition to your garden. They contain micronutrients and trace minerals. They also provide beneficial bacteria and microbes to the garden.
Once you’ve harvested the castings, you can also take the worm filled side of the bin and split it in half between two bins. The worms have been reproducing while they’ve been making all those castings, so you should have a lot more worms than you started with. And then from here on out the growth is exponential. Worms bins for everyone.
Some of my more squeamish friends are not so keen on the worm bins. The first question seems to always be “BUT WHAT IF ALL THE WORMS GET OUT OF THE BIN AND GO INTO YOUR BEDROOM AND GET INTO YOUR BED???”. The worms don’t want to get out of the bin. They like it where it’s moist and dark and cool. If they somehow did get out, they would promptly try to get back in. And if they couldn’t, they would probably dry up and die. I think it is VERY unlikely that Allan and I will ever wake up and see a worm staring at us from the bedside table. Crickets on the other hand – crickets will get out of the box and live for several months hiding throughout your house. But that’s a story for another day.